Redesigning a Robot Test Environment
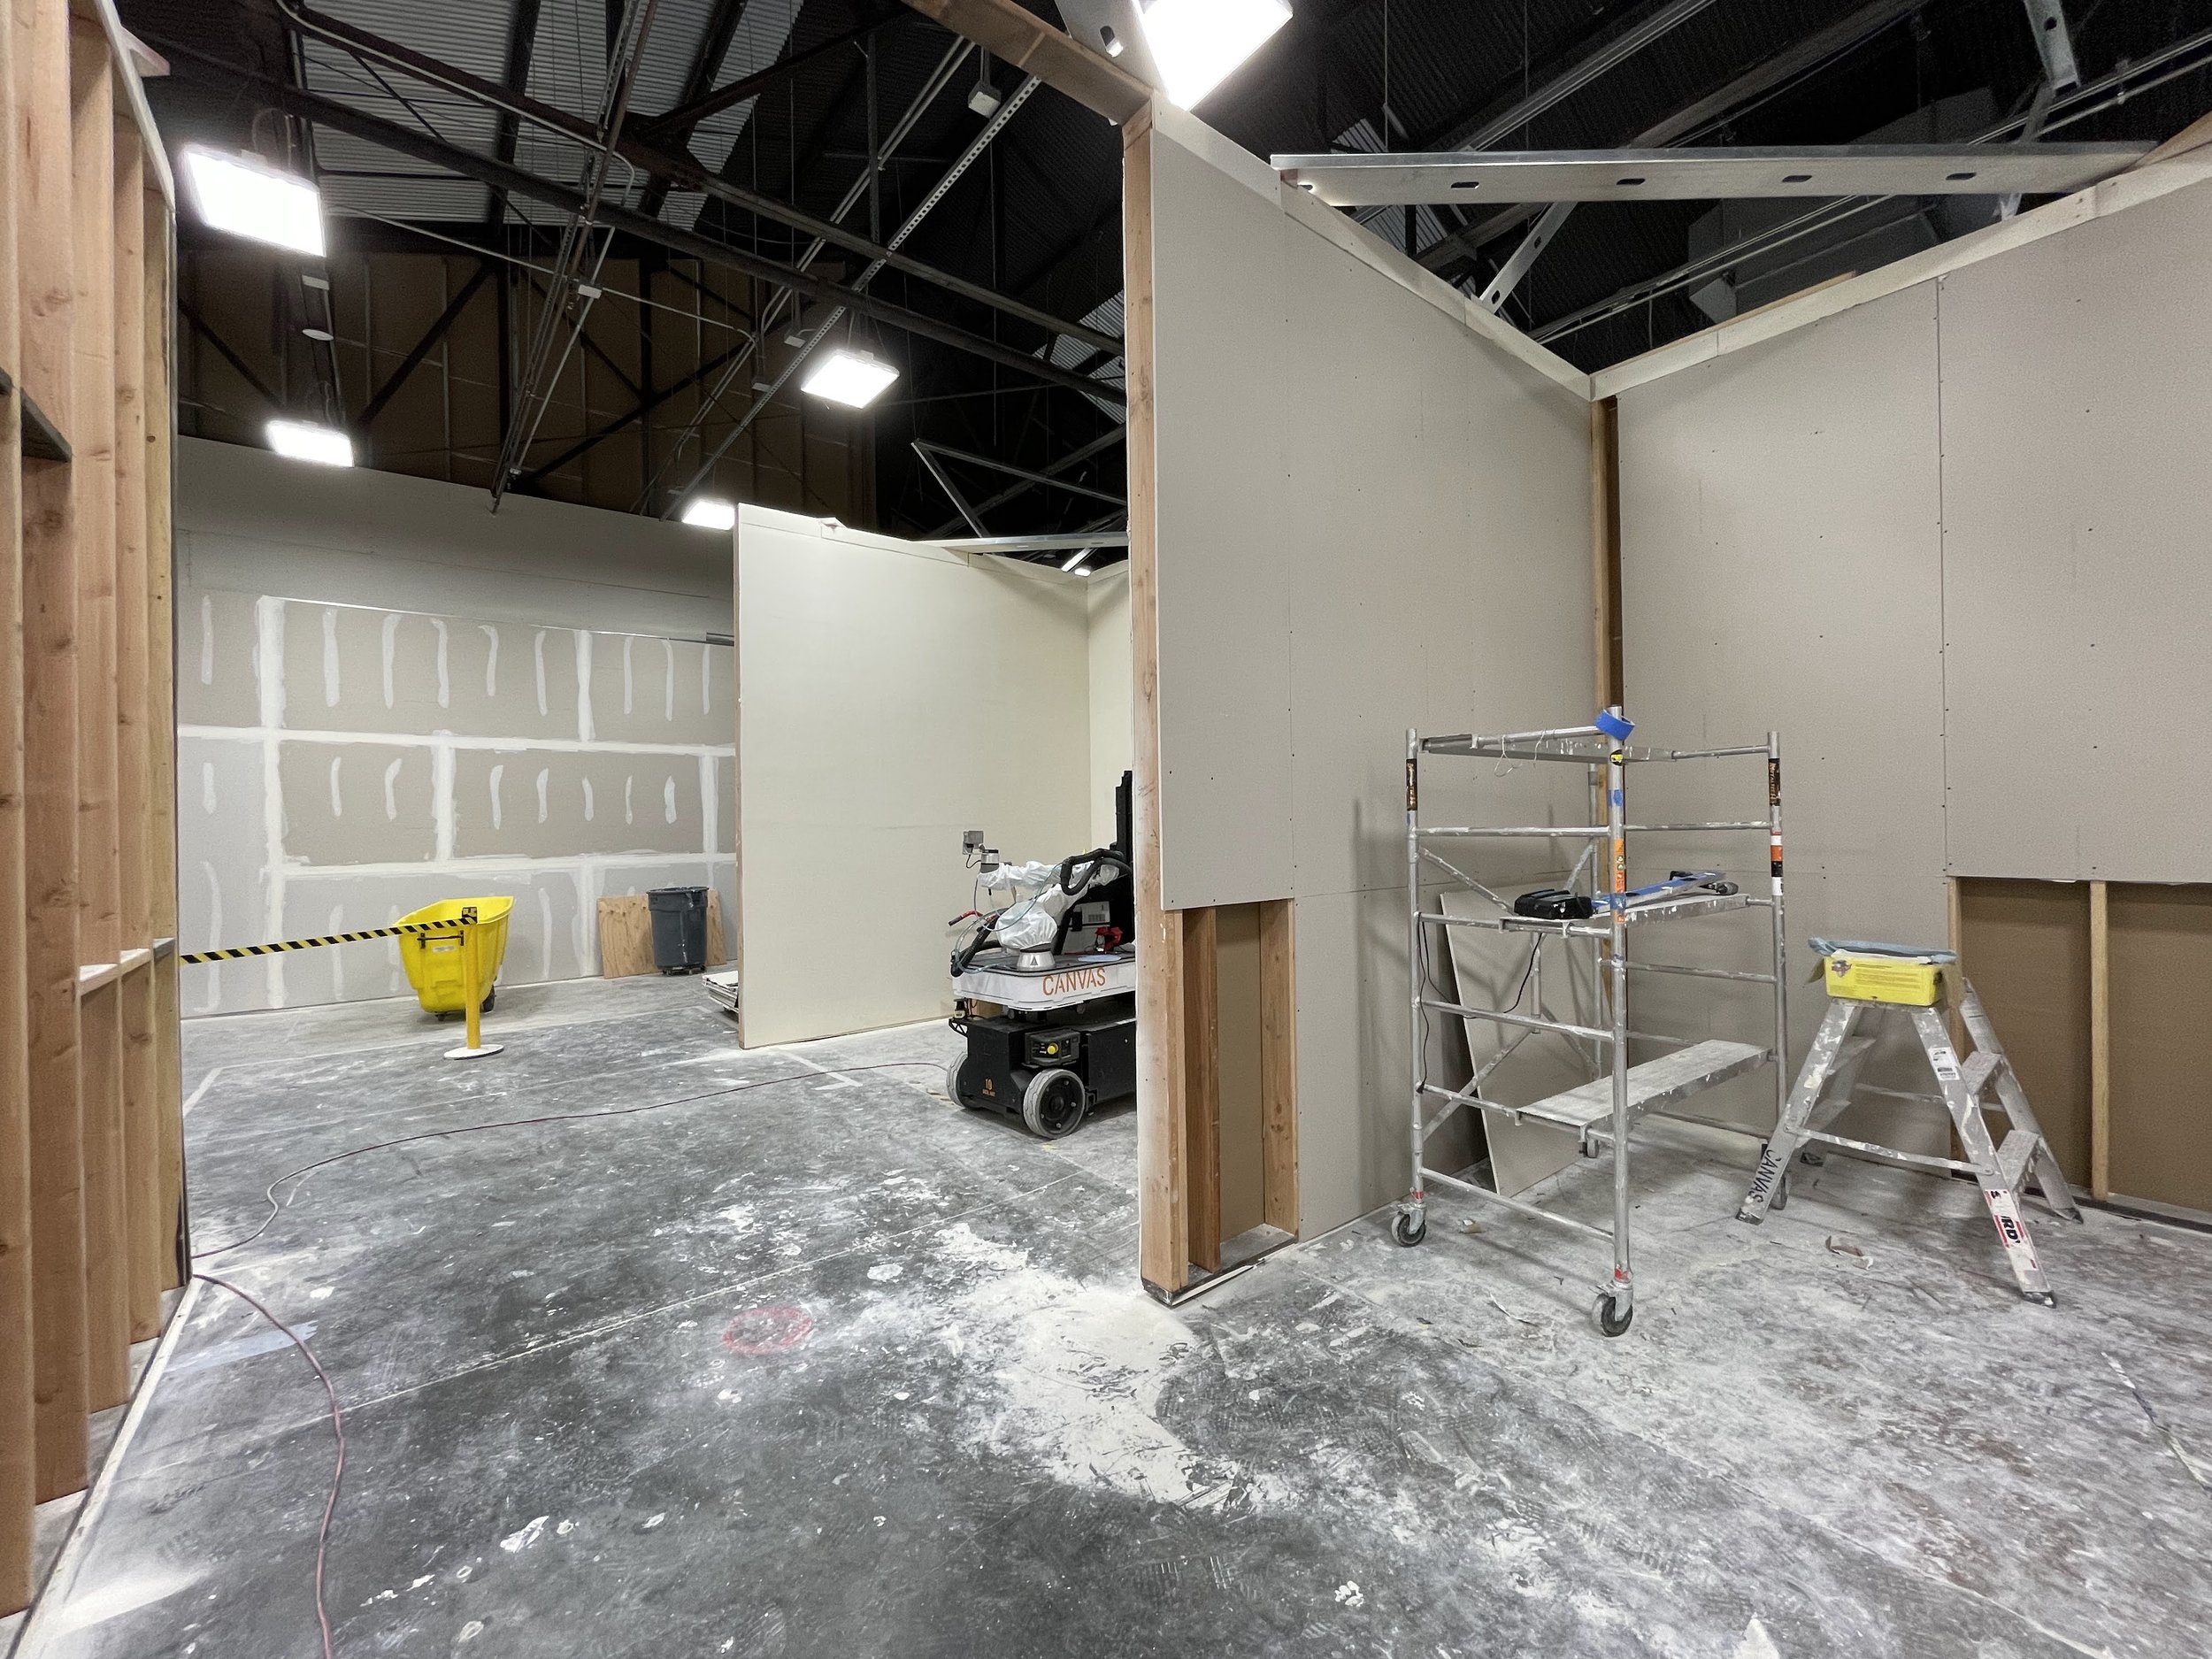
The initial lab testing area - pretty convincing. Or so we thought!
Background
Canvas Construction has created a novel drywall finishing robot that helps construction workers create smooth and beautiful walls. Each of our operators (users) went through an extensive training program, which involved direct use of our machine in our lab. Canvas invested heavily in building a warren of walls and surfaces to not only give trainees a realistic environment, but also help the internal team test the machine in a site-like environment.
Yet, despite the effort in creating the initial space, we often heard from our users that they would have to wait and see the machine running on a construction site. In other words, the lab environment wasn’t convincing enough! And so we set out to why and what we could do.
What resulted was an awesome exploration into the live construction site environment, AND a chance to explore a few different research methodologies.
Initial Interviews
We spoke with our in-house operators - these were the taping construction workers who had been using the machine for the longest - and we asked them what stood out to them as differences between our lab a real construction site.
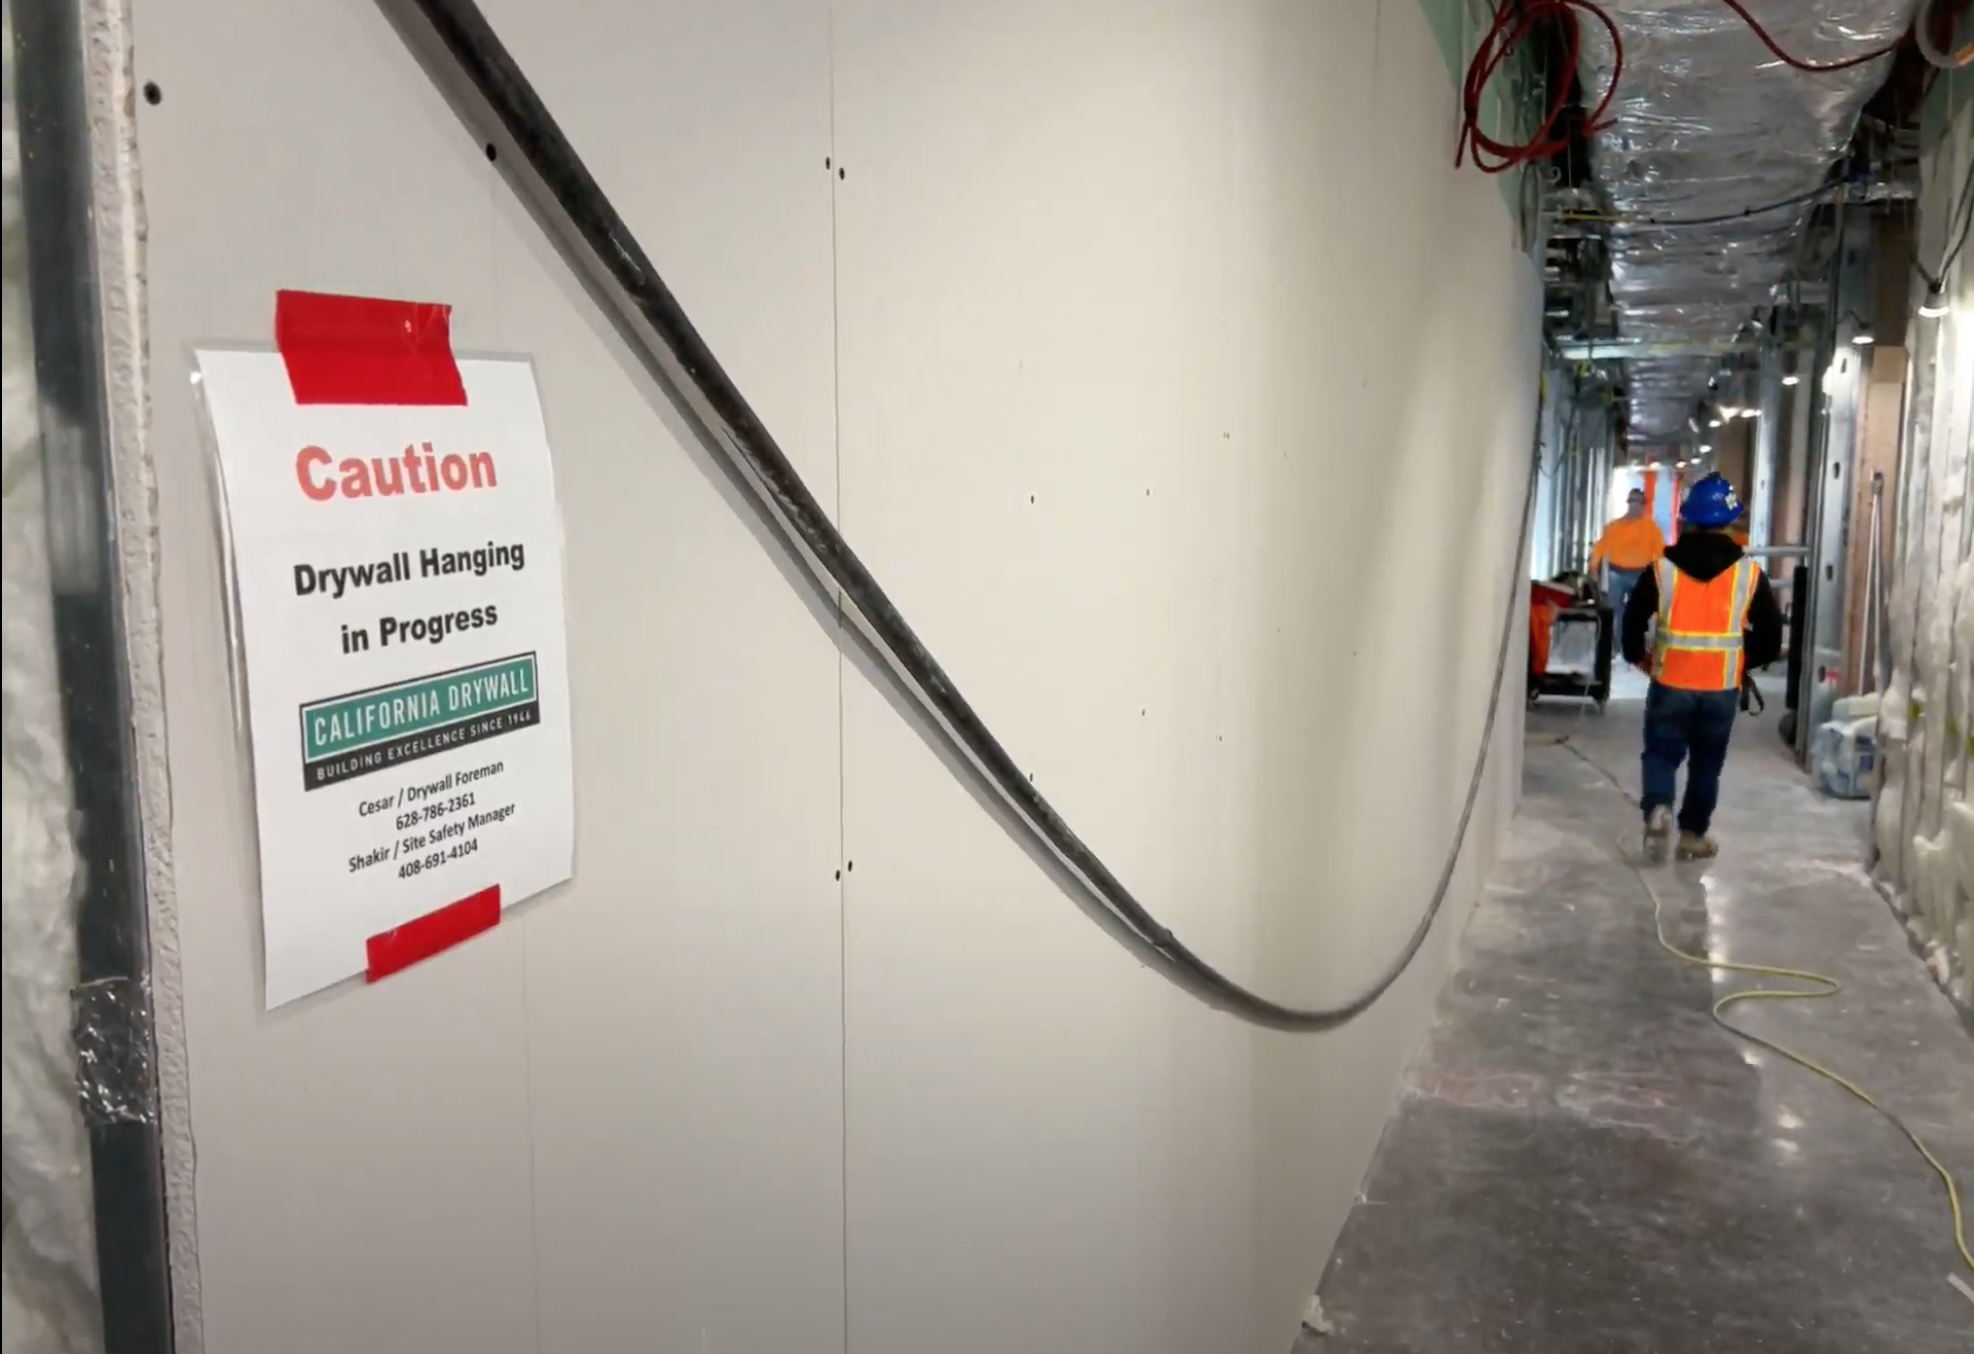
We discovered that some things would be hard to replicate. It is challenging to recreate the chaos and unpredictability of a job site, especially the type that comes with people! Scheduling, negotiating, and managing interactions with other trades and individuals AND THEIR STUFF create an environment of uncertainty and dynamism that is hard to replicate.
But we also heard many physical obstacles that we could easily start building into our testing area. I wanted to get an exhaustive list, and then get a sense of which of these would be most important.
Our users were tapers and finishers, but they often had to contend with plumbers, electricians, carpenters, and many others on the job site.
Brainstorming and in-situ Observation
A big portion of challenges were different types of physical obstacles and debris. I held a brainstorming session with members of our field crew (this was the construction crew that had been deploying the machine on jobs for the past three years). Together we identified a list of items, obstacles, and features that were common on construction sites. After some affinity mapping, we broadly identified categories of obstacles to research further.
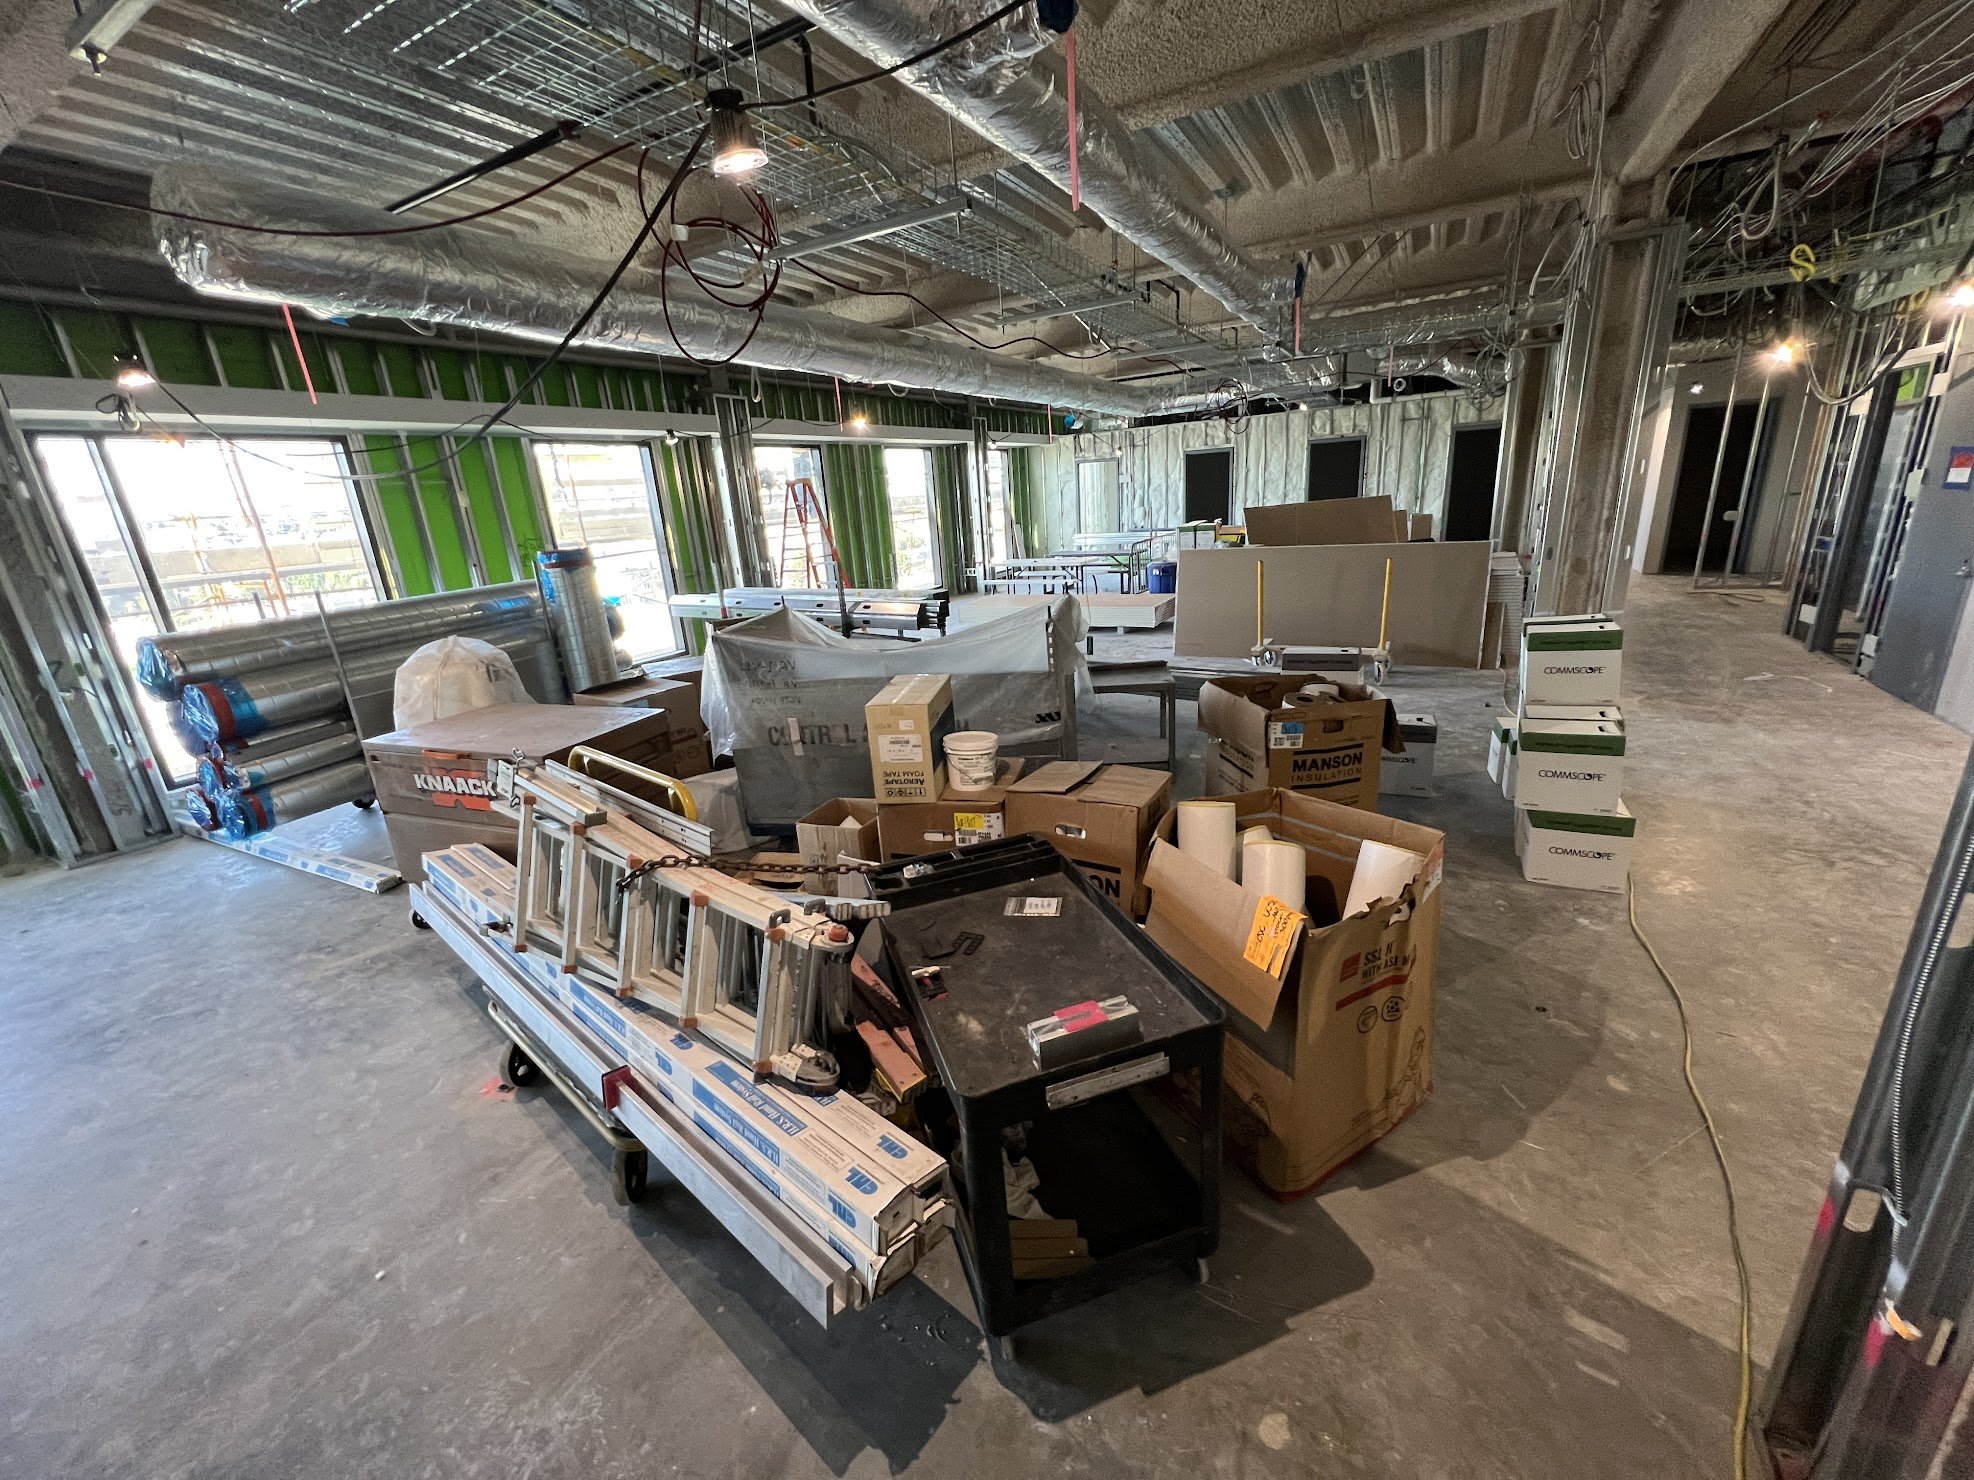
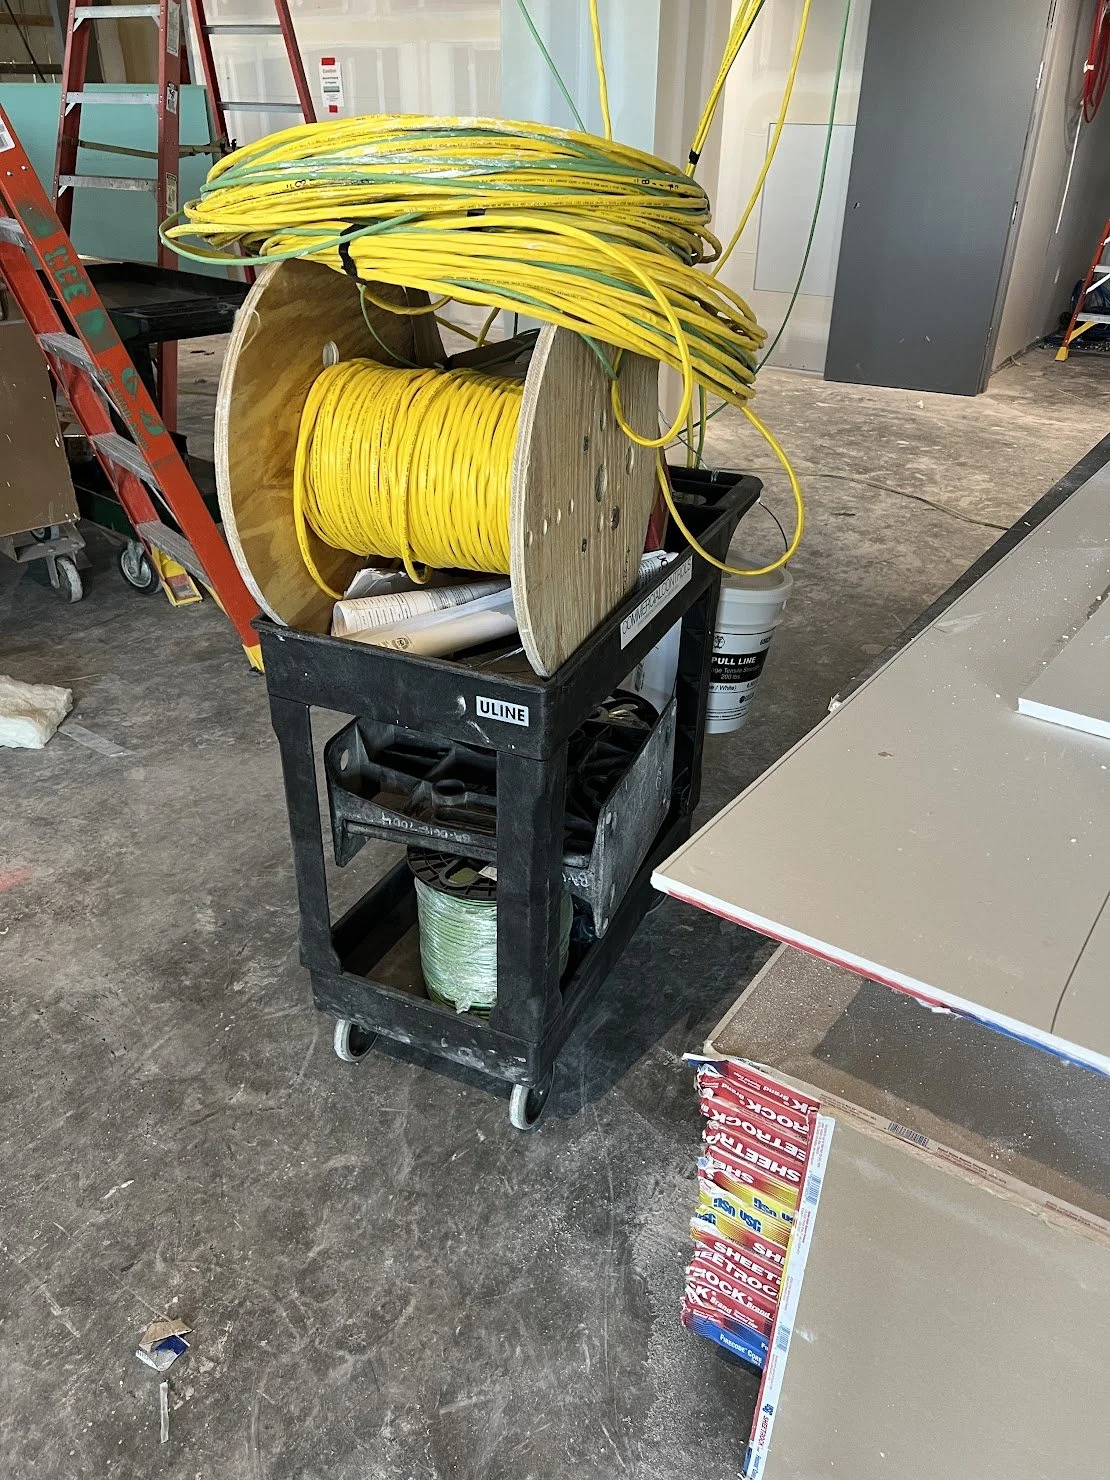
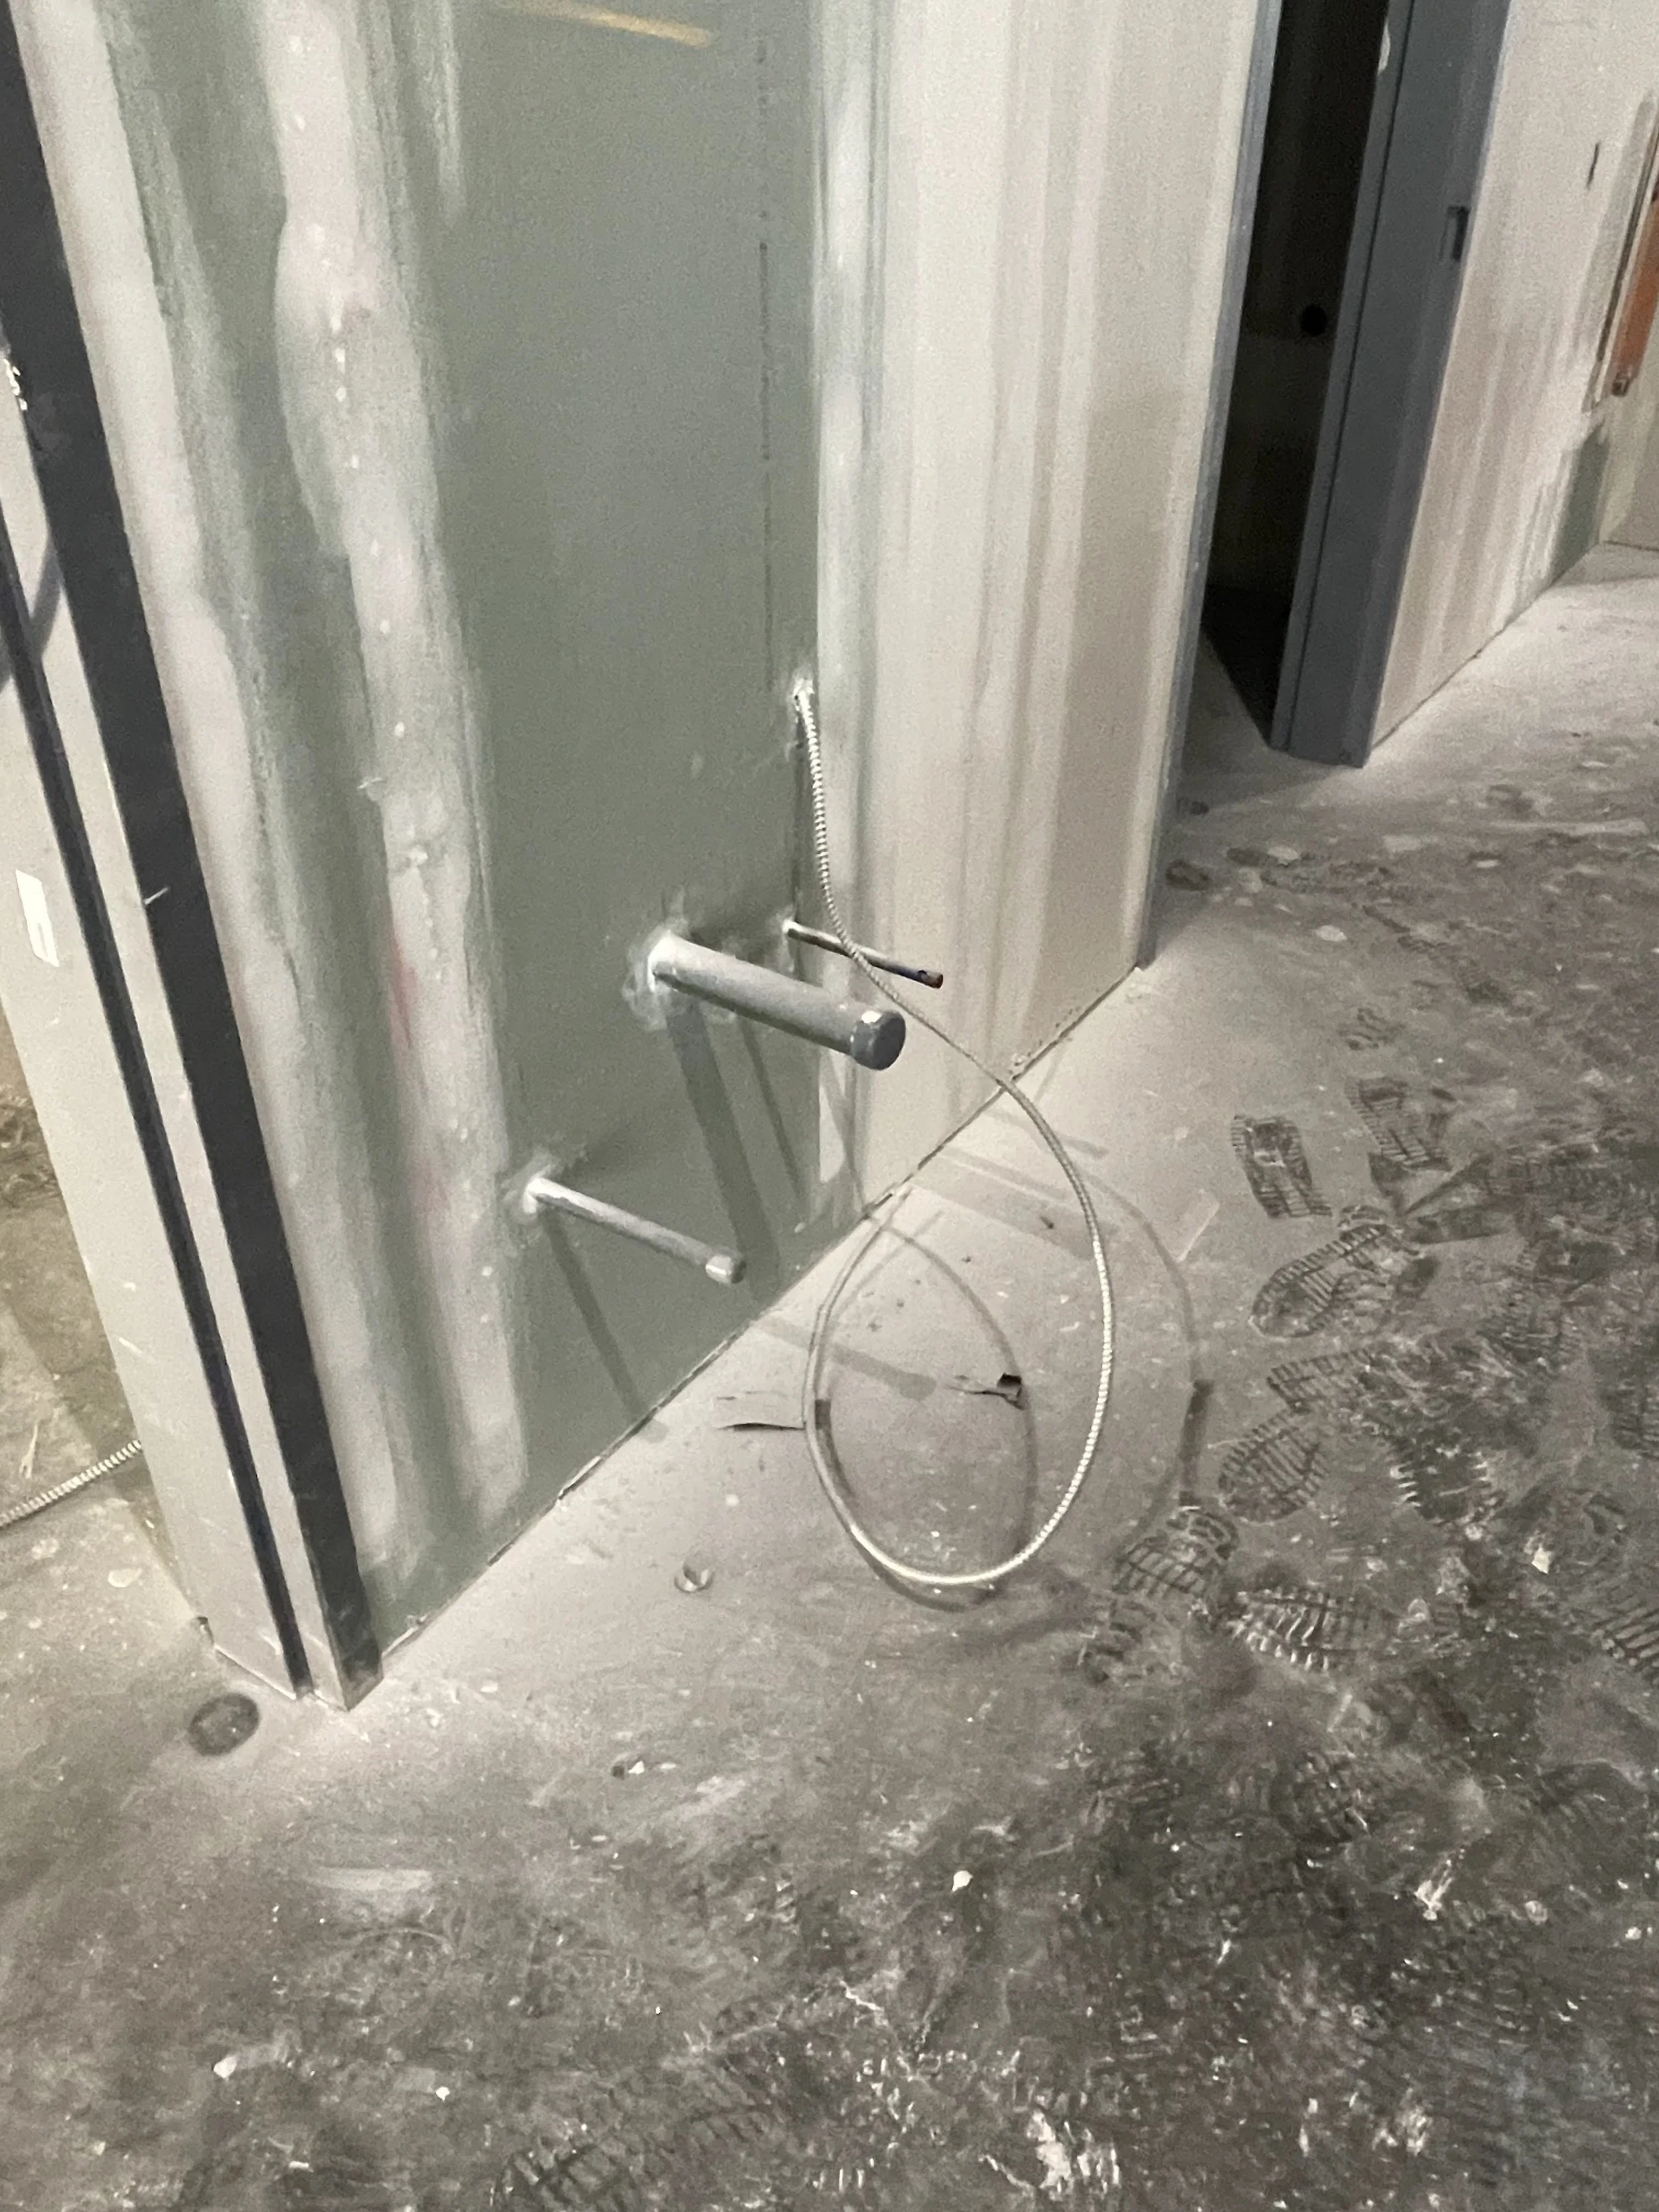
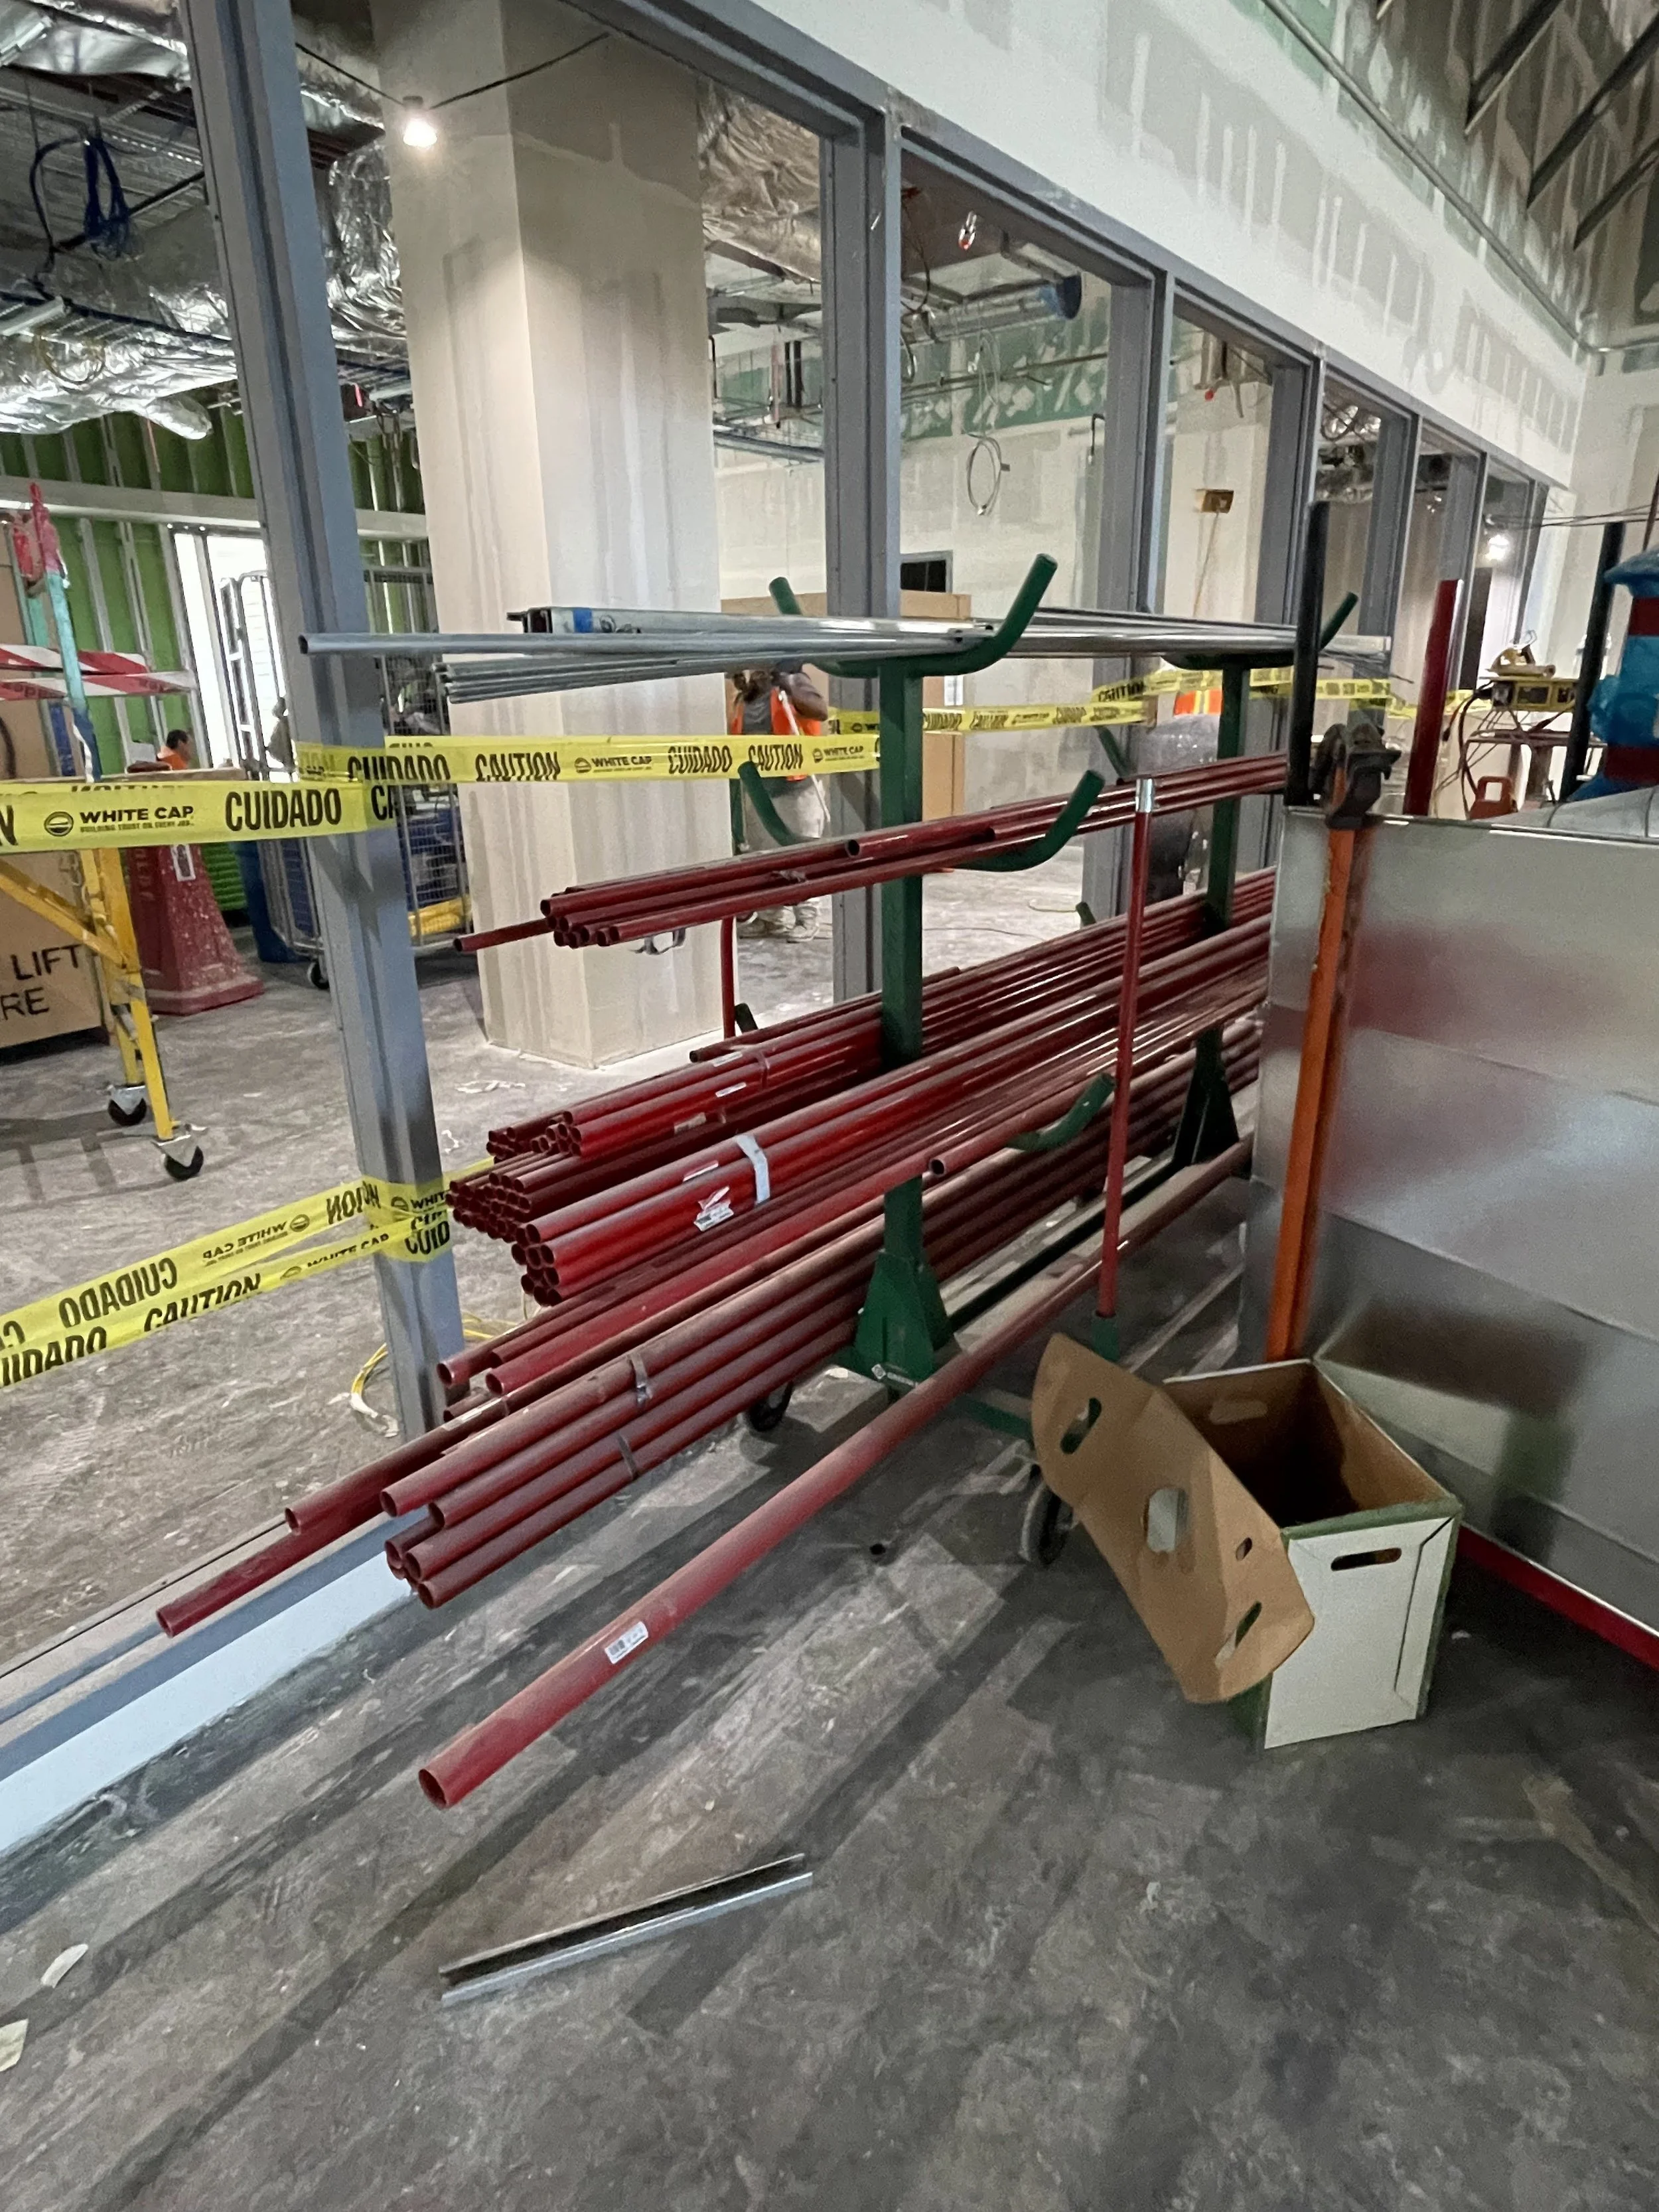
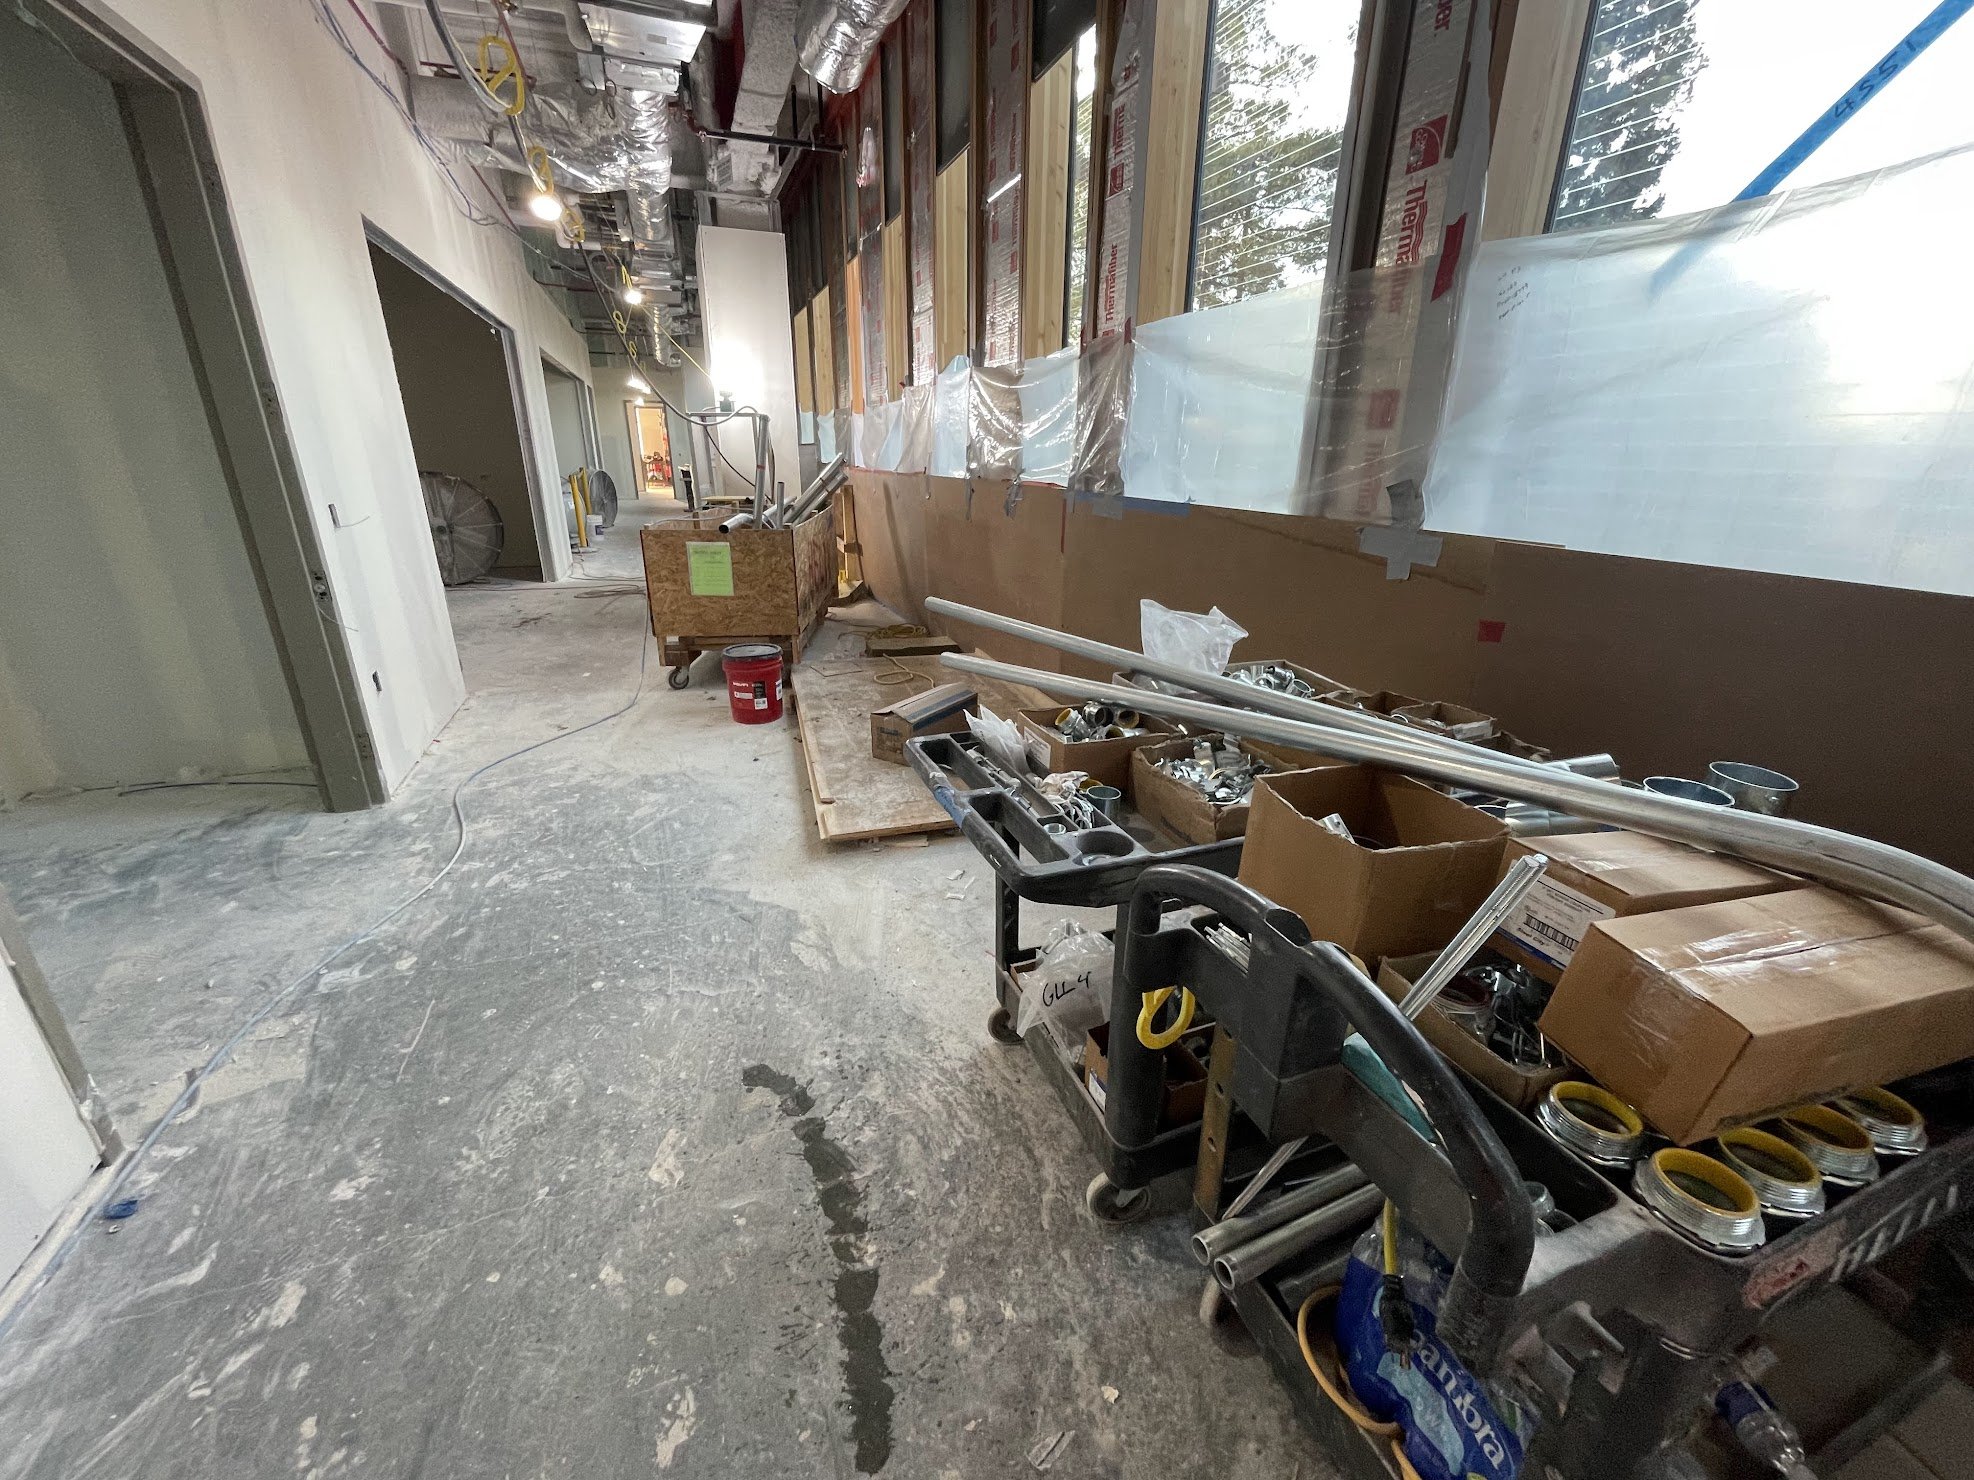
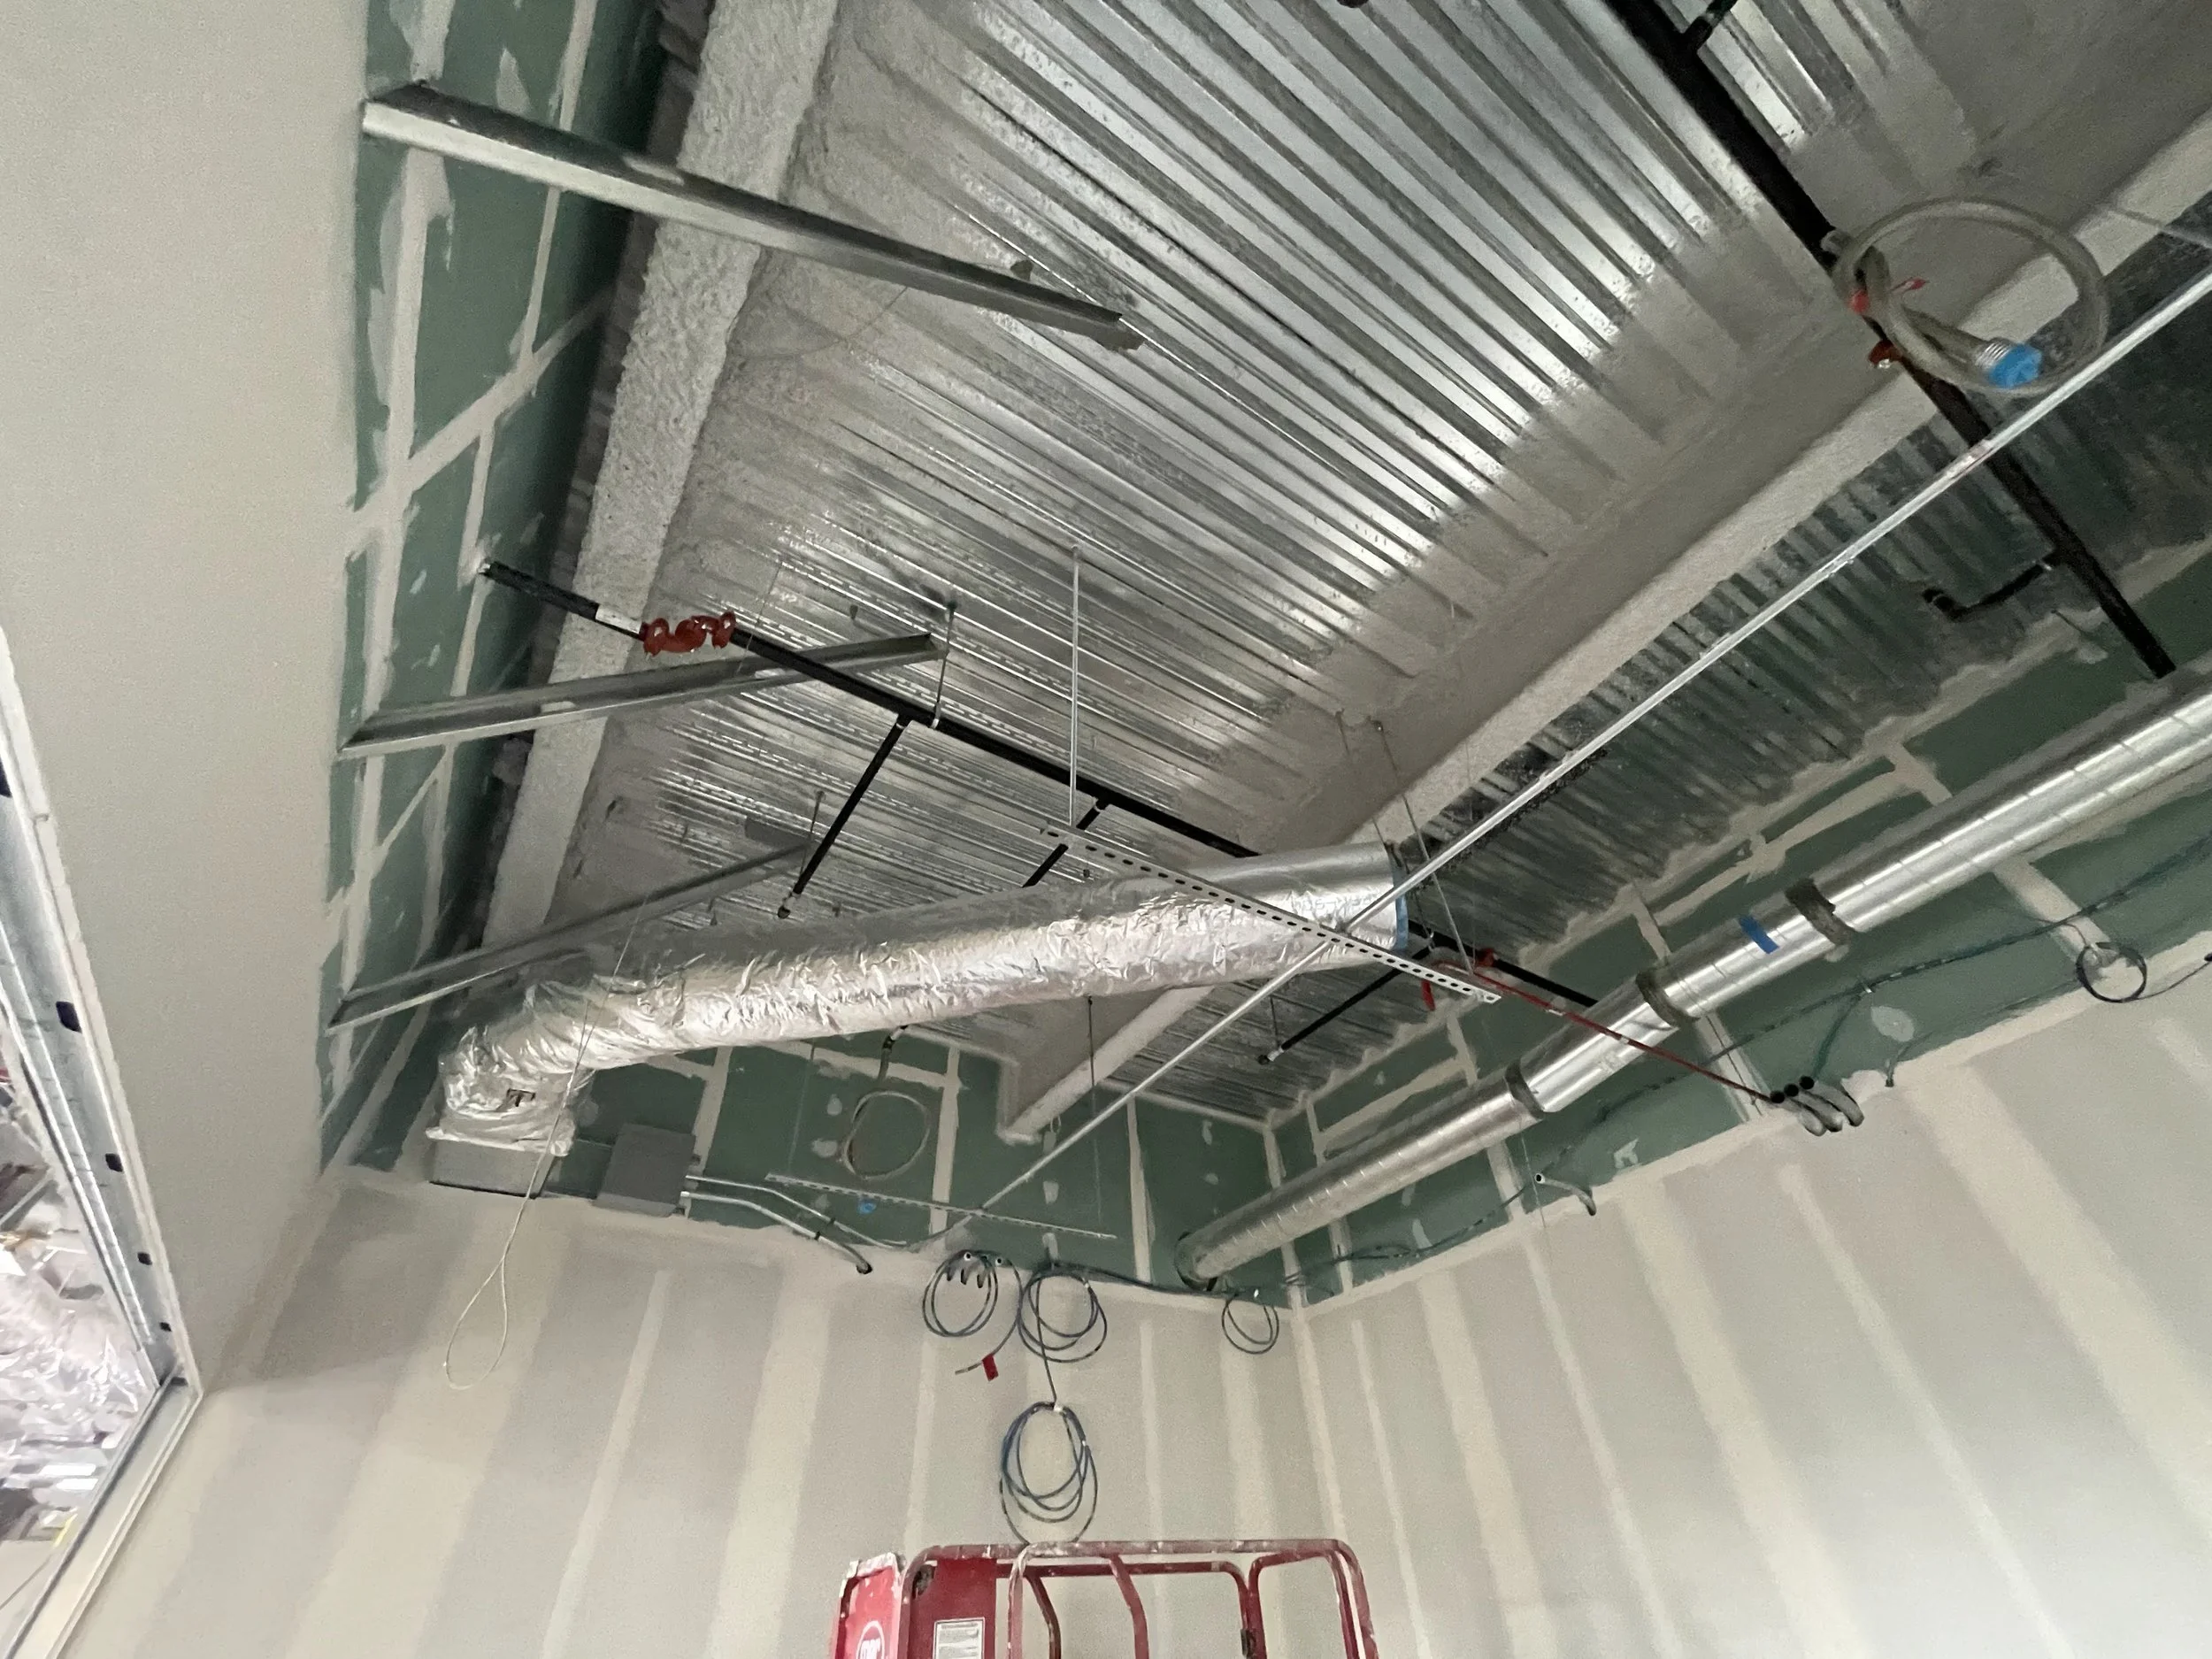
Armed with this knowledge, I then visited our active jobs to collect photo-evidence of these obstacles and features.
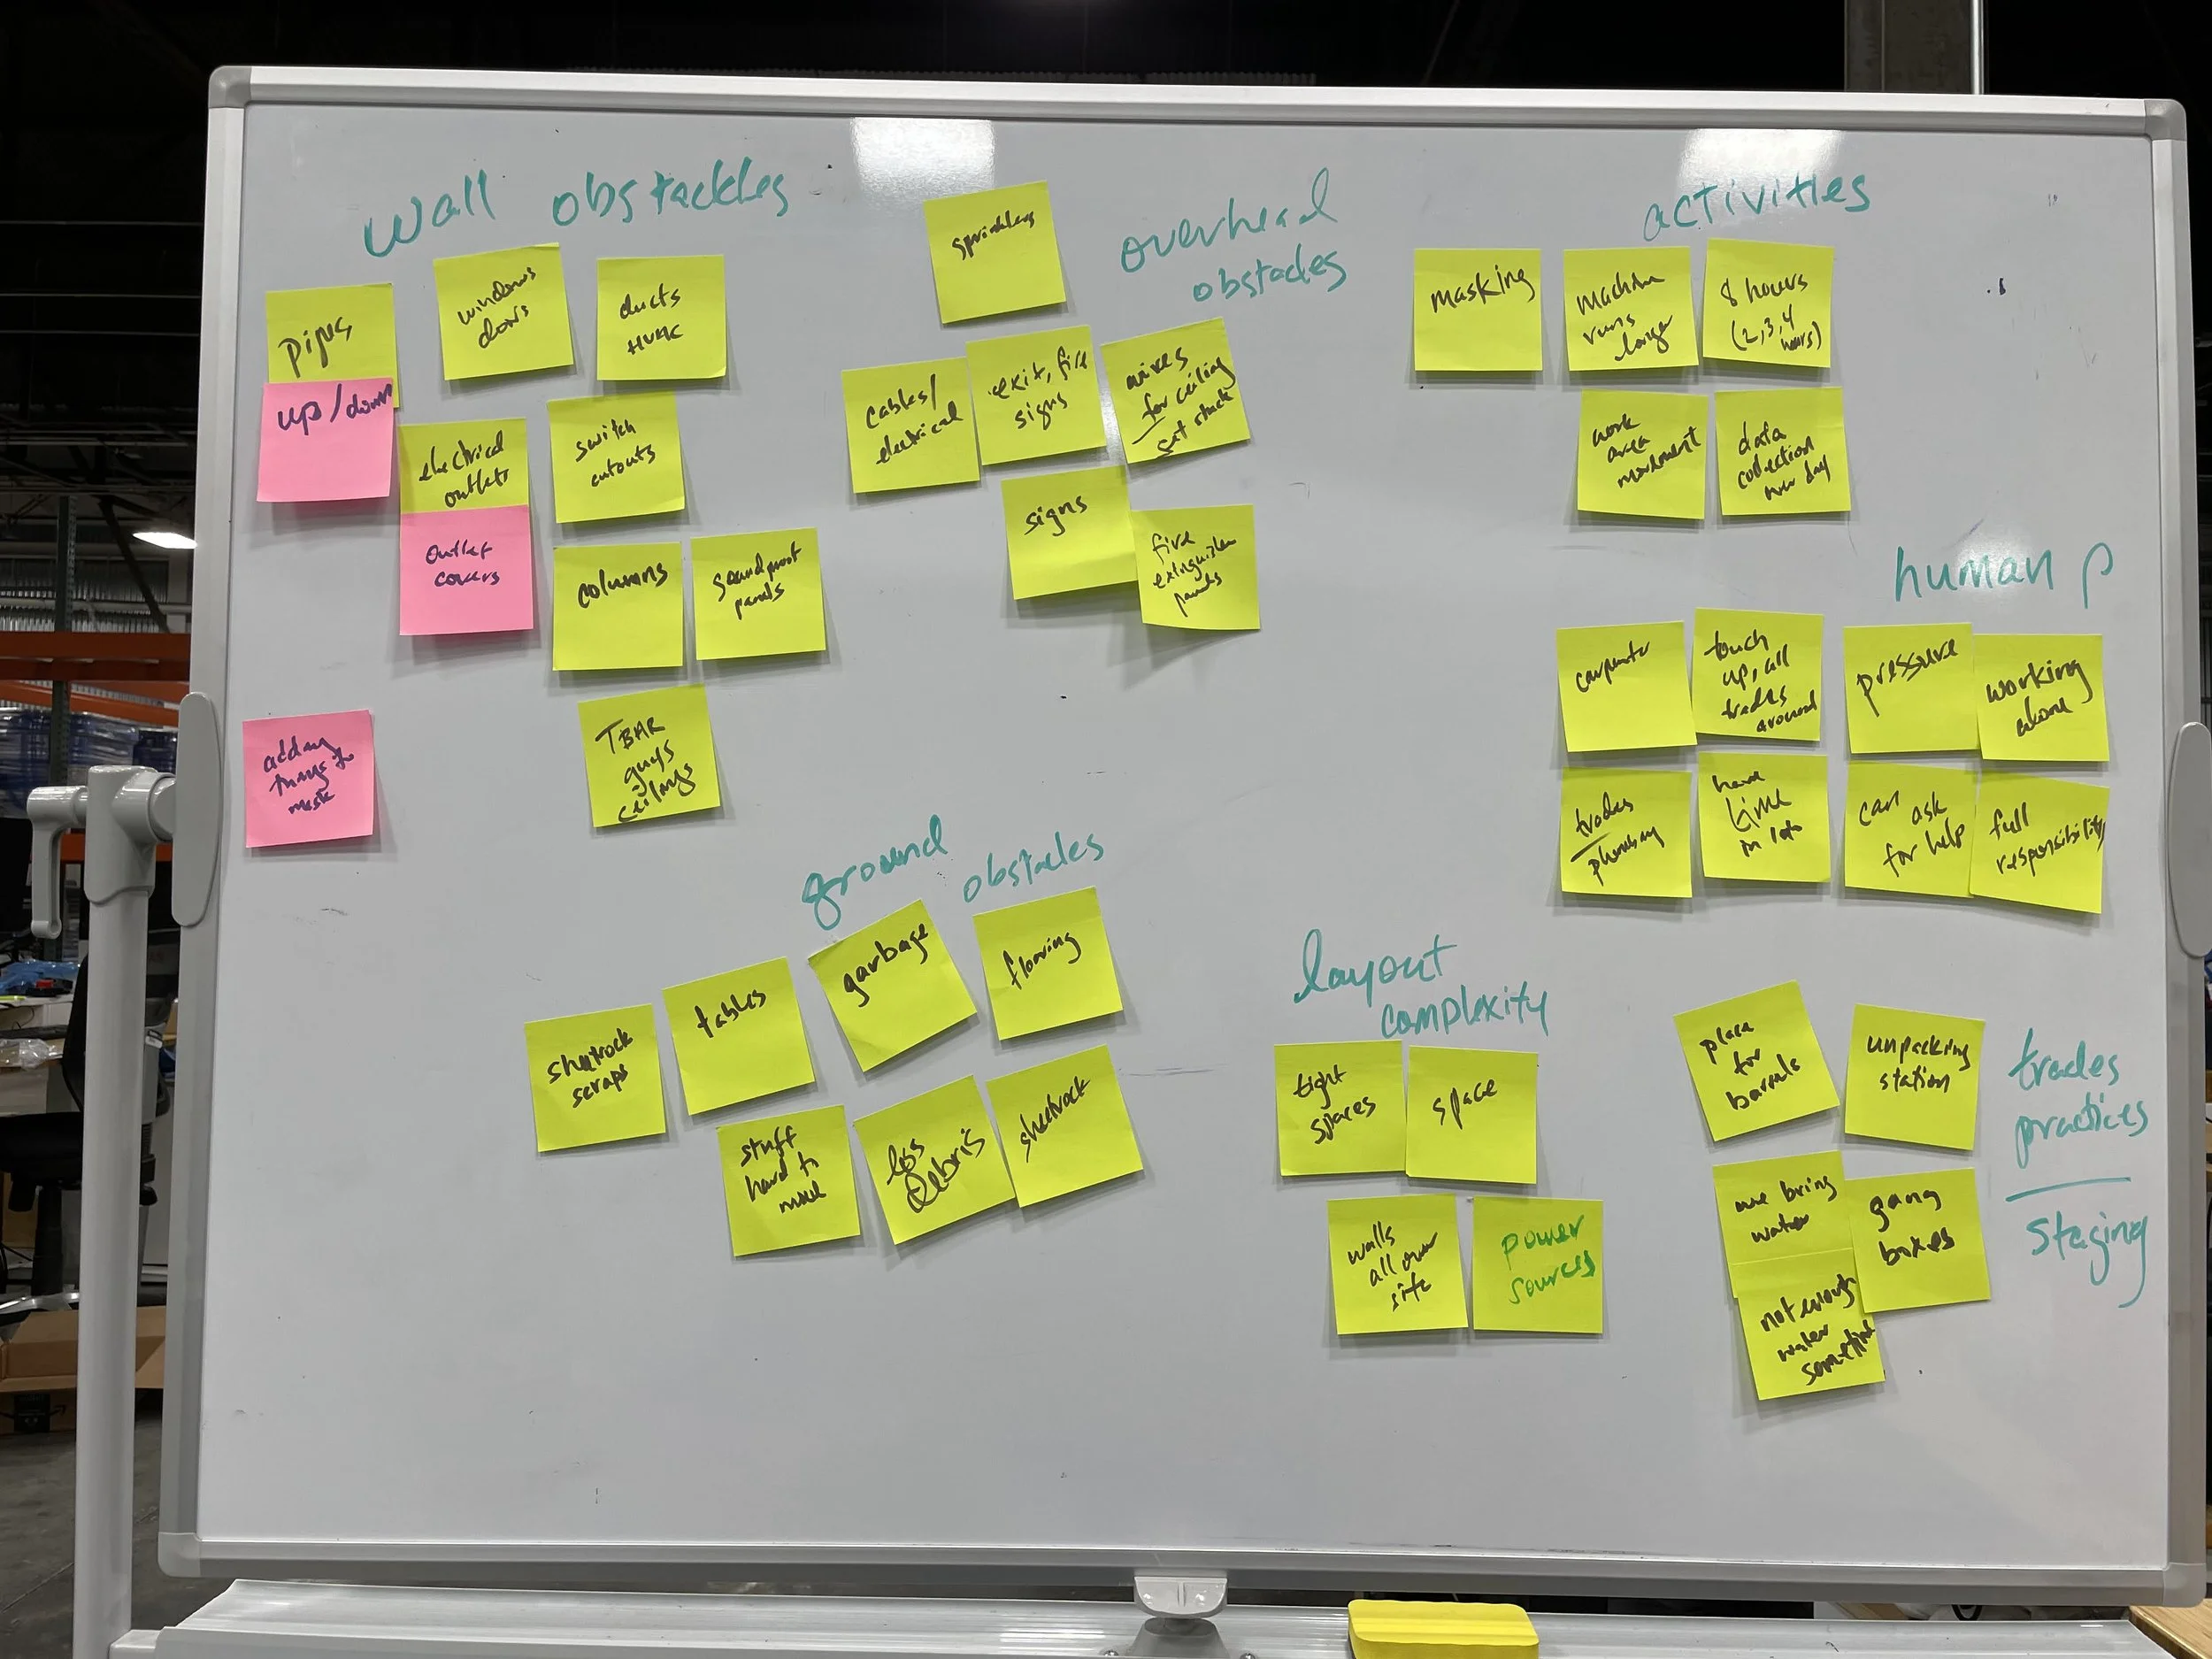
Brainstorming and affinity mapping different obstacles seen on site
Card Sorting and assessment
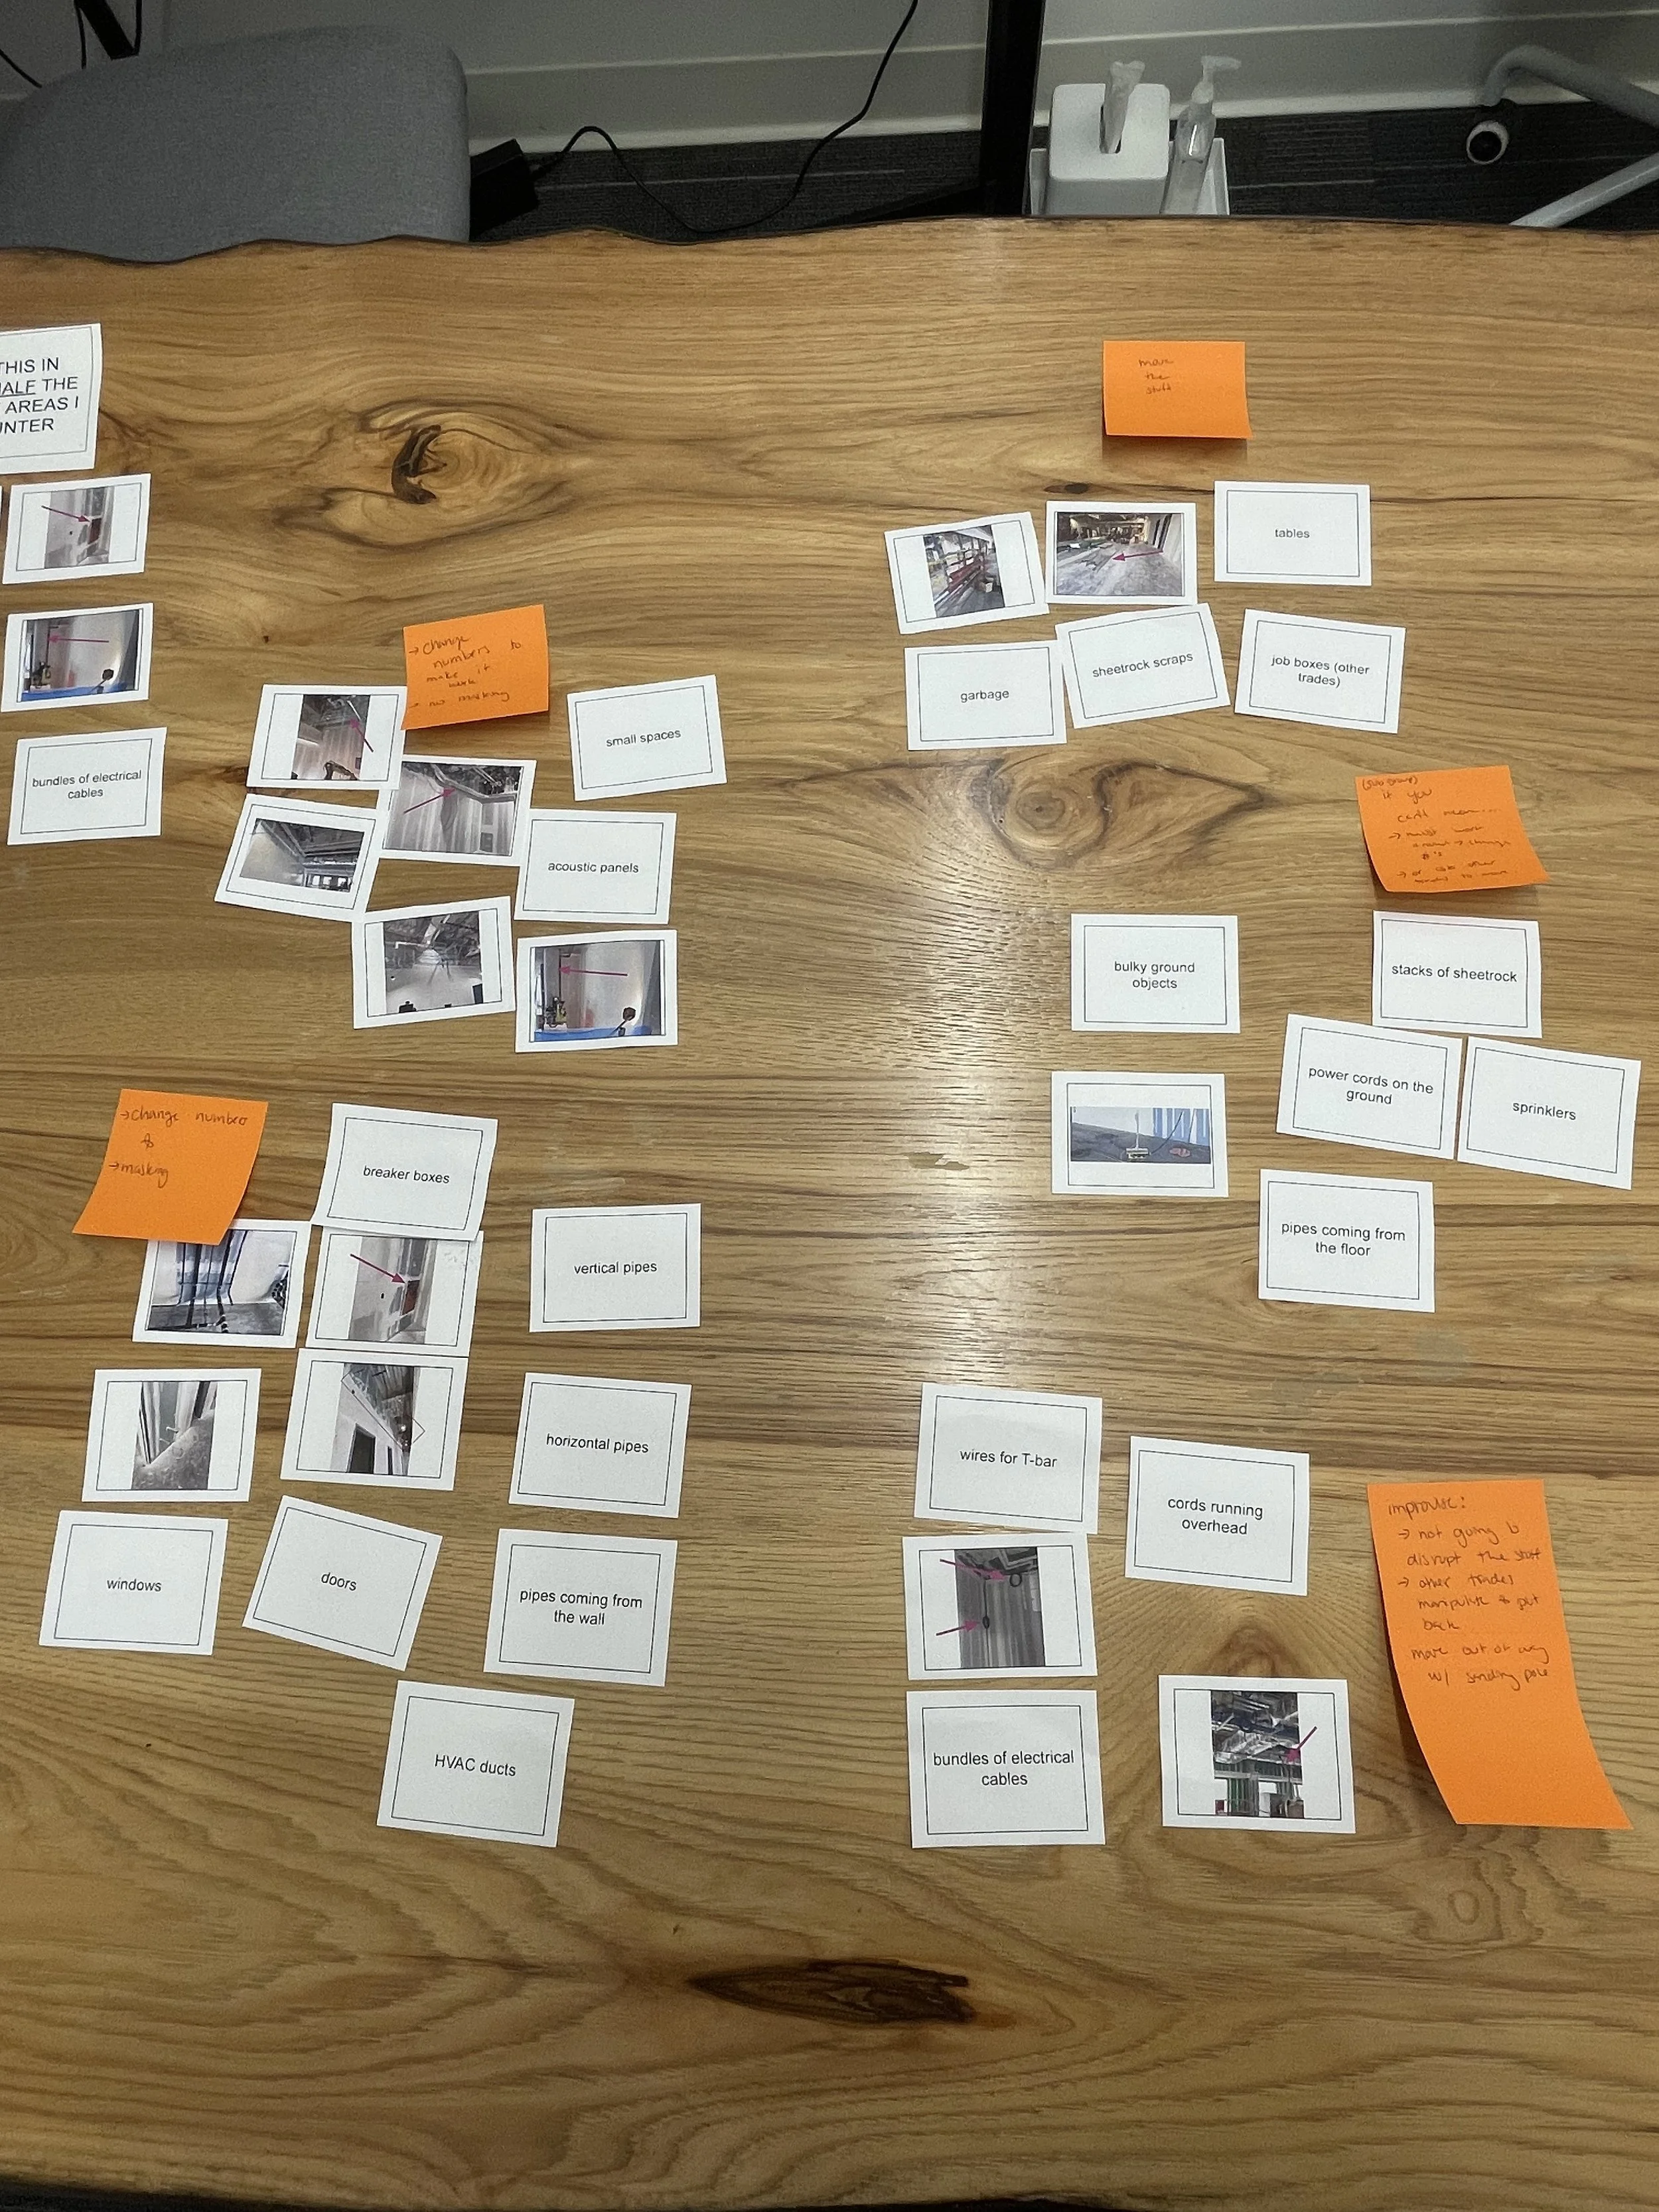
From our initial brainstorming, interviews, and site observations, we had a comprehensive list of the different types of obstacles we were likely to encounter. But given that we had limited resources and bandwidth to create some of these obstacles and build them into the lab testing area, we wanted to add some rigor into the selection of which obstacles we would build.
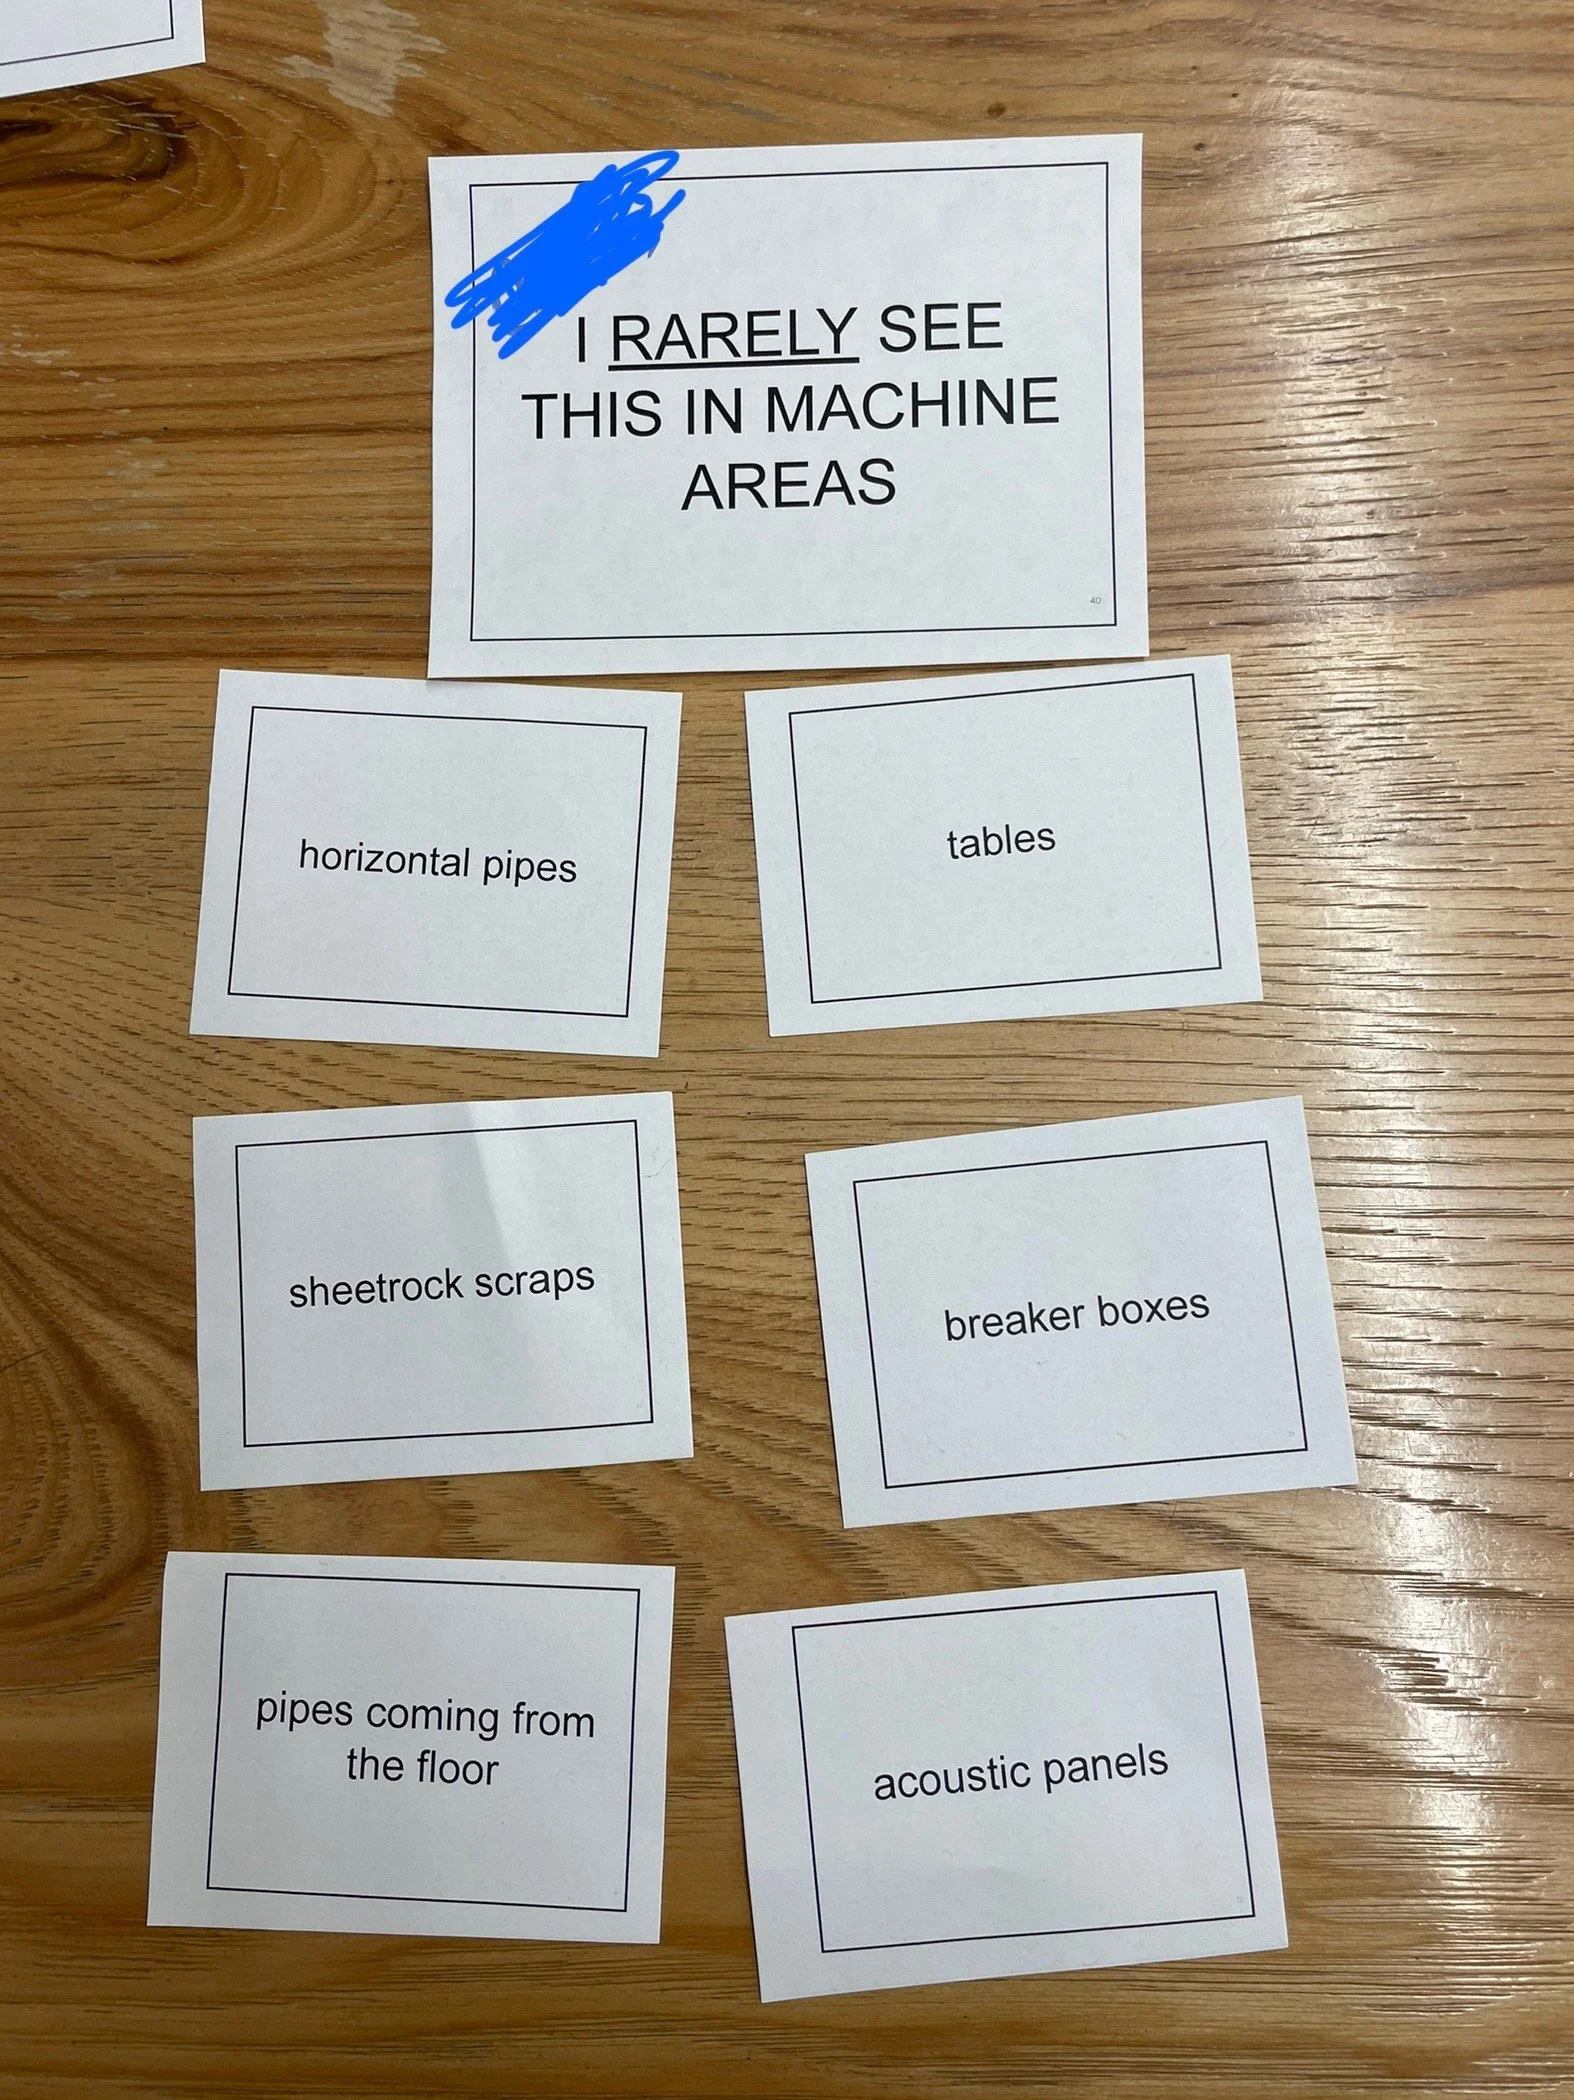
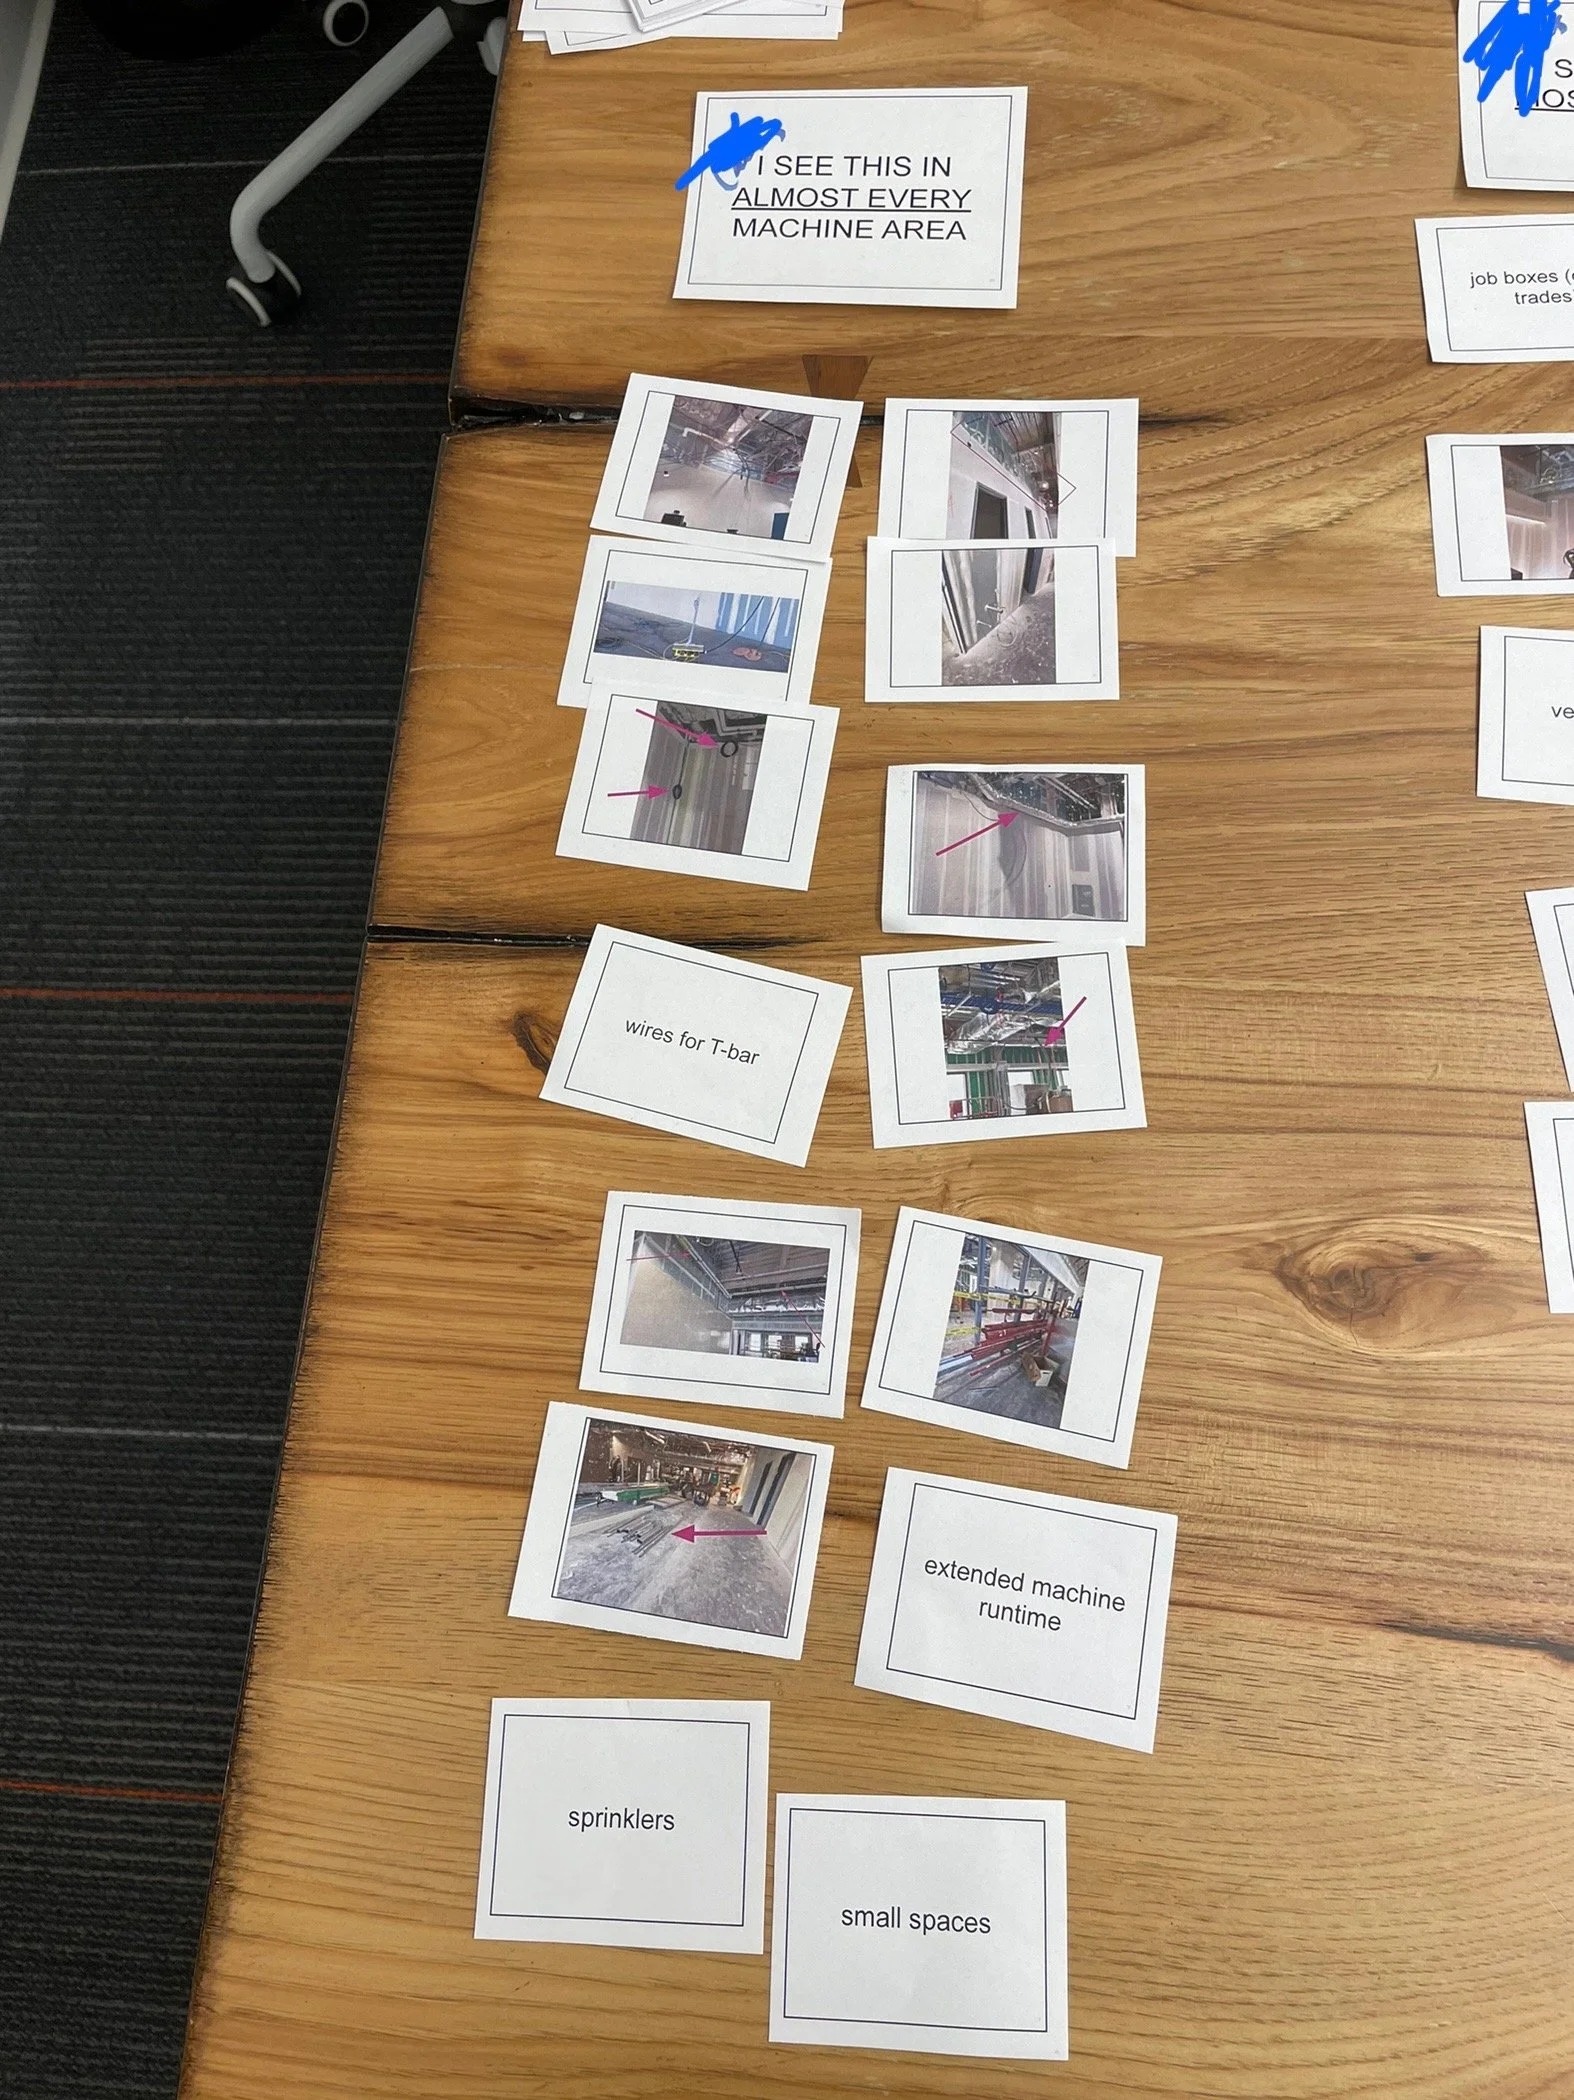
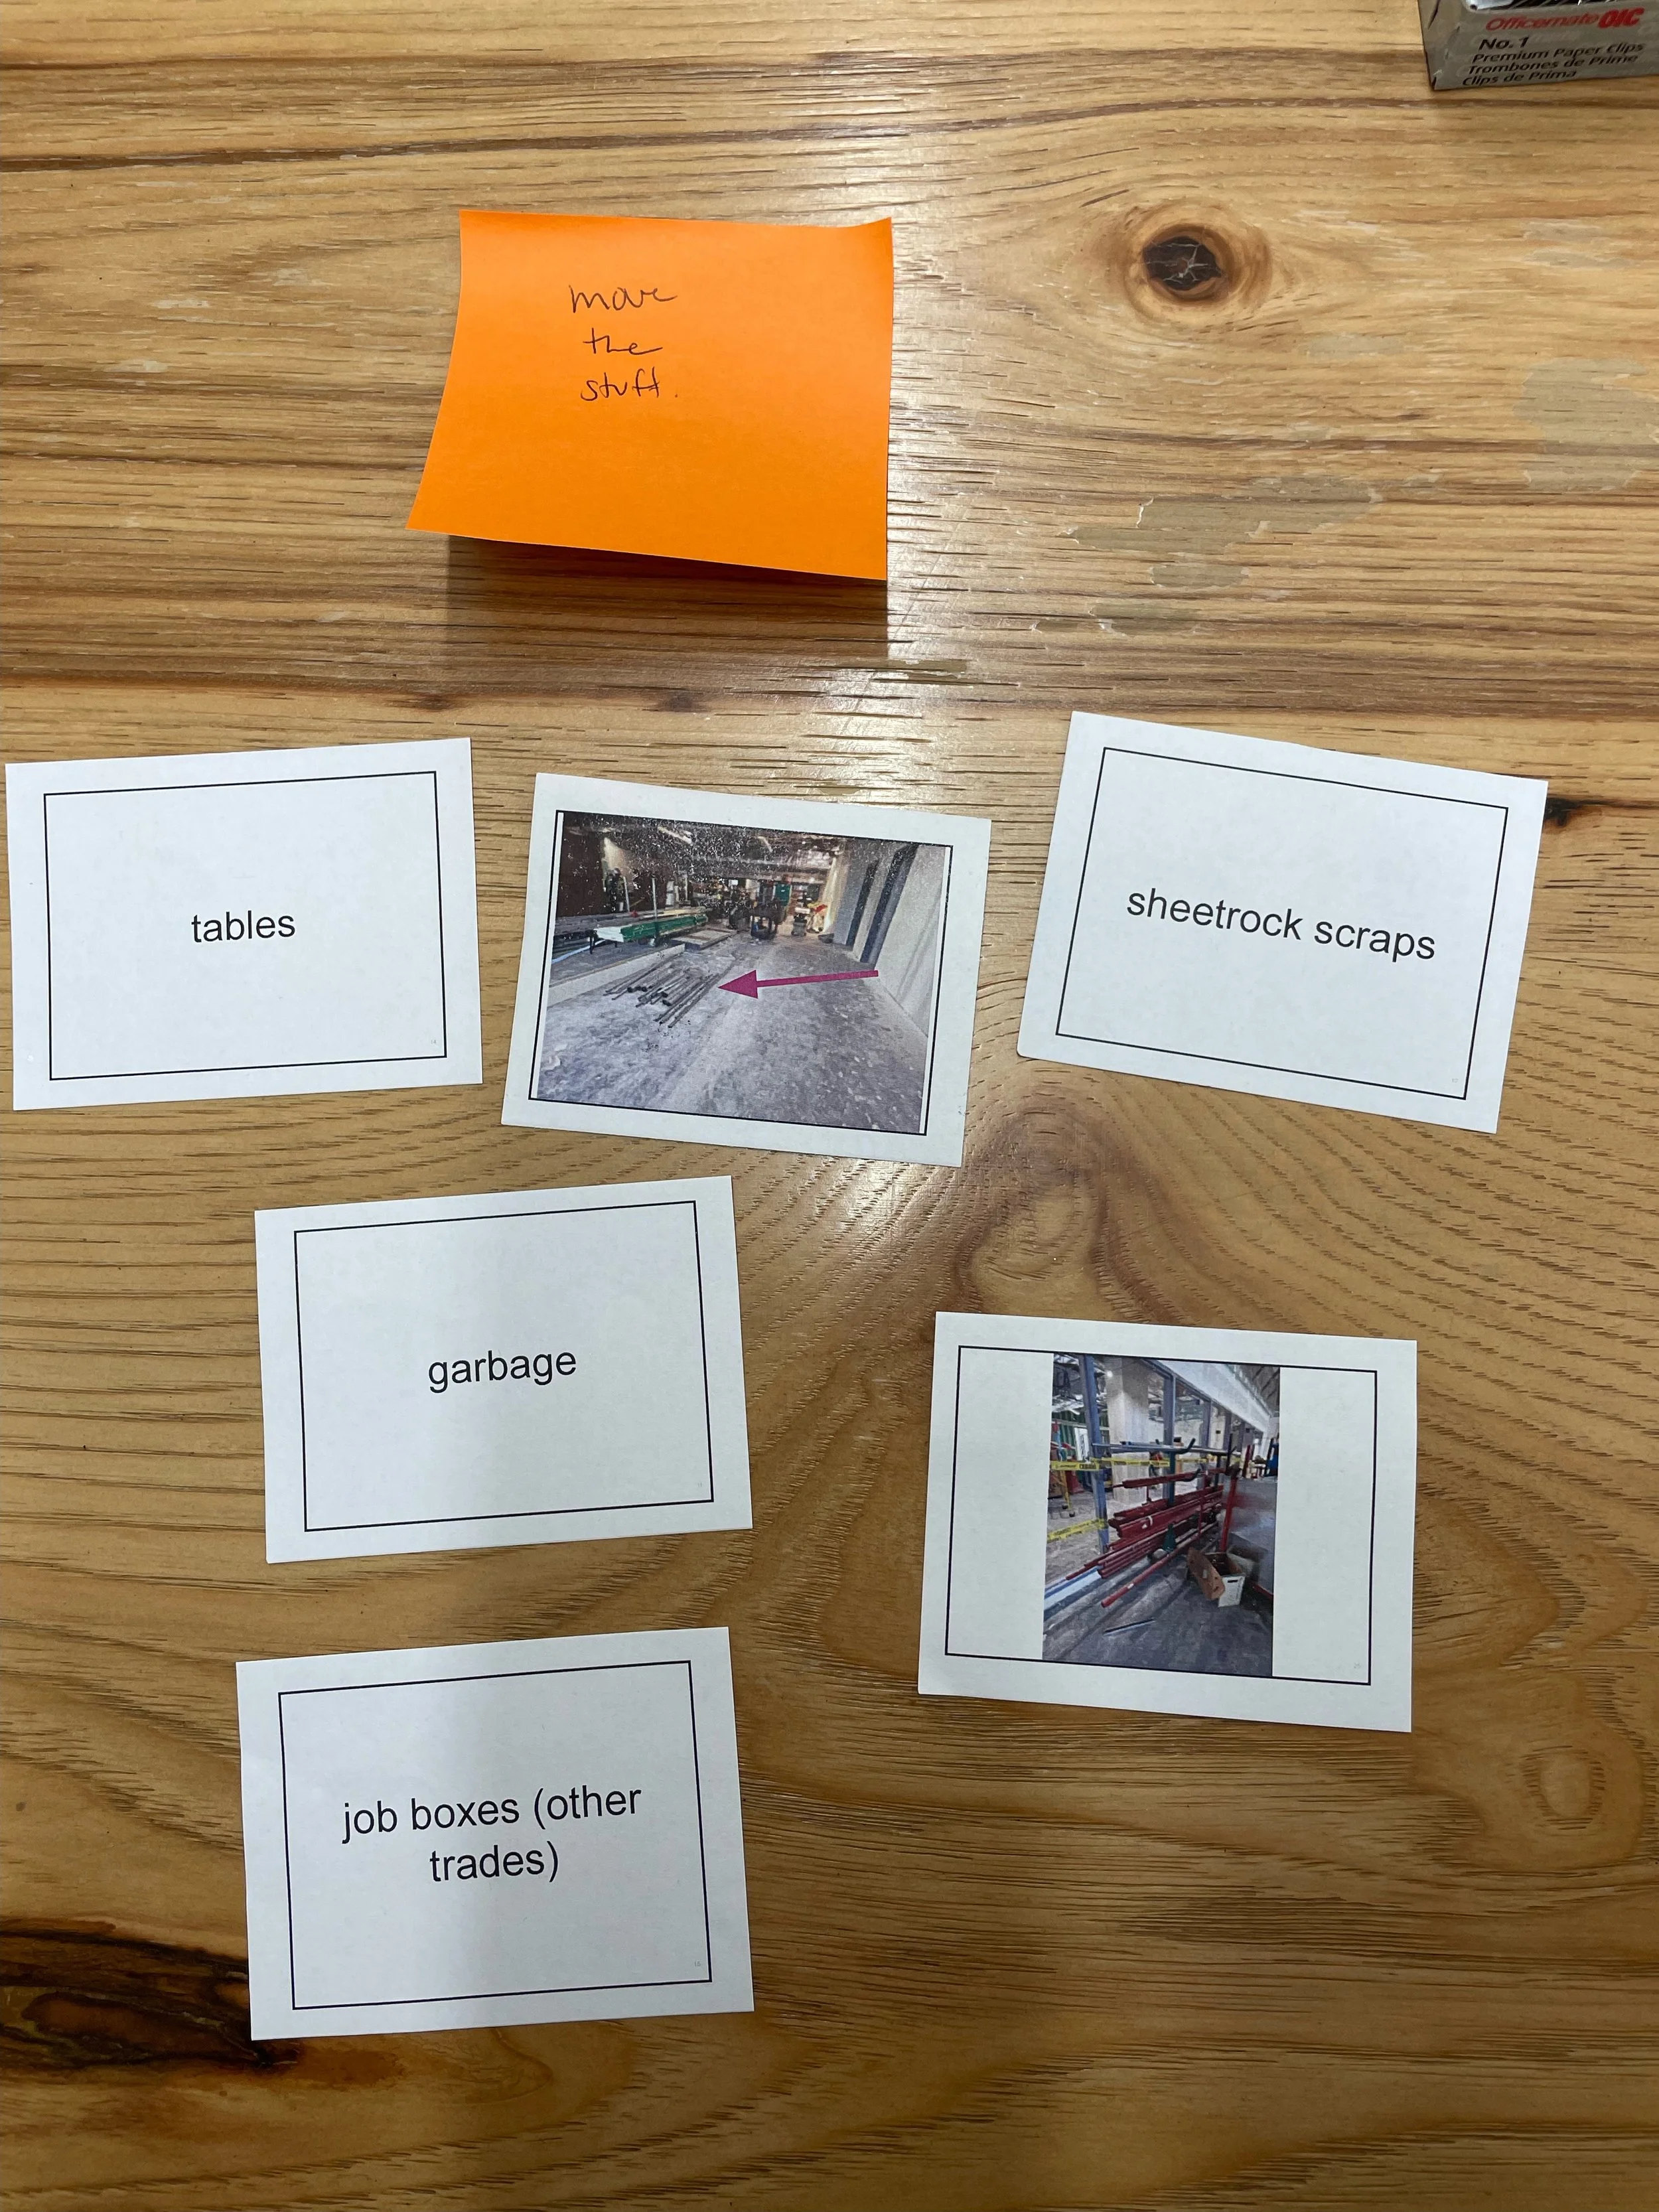
We went through a card sorting exercise and had our field crew team sort the different obstacles we presented in order to determine two things: 1) the general frequency with which they encountered these objects, and 2) how they typically addressed or worked around them on site. We conducted a closed sort to gauge frequency, and an open sort to determine the workaround strategies.